Our DIY Campervan Conversion Story
From Polly to Druss
Our DIY campervan conversion story
We bought a van with zero tools, even less experience, and a whole lot of excitement. This is the story of our budget campervan conversion — from the moment we found Druss the Legend in Portugal to the day we hit the road. No fancy build series, no perfect finishes — just the "done is better than perfect" mindset that got us travelling. Whether you're planning a cheap van build or just love vanlife stories, this one's for you.
Well, hello there folks. How is it going?
I've got some absolutely bananas wonderful news to share with everybody. We got a new van. Can you believe it?
First and foremost, I have to give props to my sister Lynn, who was super duper kind enough to lend us some money to be able to afford this wonderful vehicle. Thanks so much, Lynn. Please, everybody, say "Thank you, Lynn. You are wonderful."
So, anyways, look at this absolute beast that we have bought. Polly was the last van. And we were talking about names the other day and we think it's a bit of a dude. It looks like a bit of a dude. And the first name that came to Orla's mind was Druss. So this is Druss the Legend. And our adventures with Druss the Legend have begun.
How wonderful is this?

Druss the Legend — our new home on wheels.
Why We Chose Druss
This is an Iveco Daily — a 2.3-litre diesel engine with 140 horsepower and a turbo engine. The thing is an absolute monster on the road. It's the shorter wheelbase, so it actually parks properly in a car parking space, which is absolutely marvellous and ideal for us.
Technically, it's only about maybe 2 and a half feet longer in terms of cargo space than what we had in Polly, which is totally fine. It's about 9 and a half feet in the back, whereas Polly was seven. But the pièce de résistance, folks, is this: we can stand.
Can you believe it? This is a game-changer. When Orla's in here, it's like, holy moly, there's so much head space. It's amazing.
The "Done is Better Than Perfect" Philosophy
This isn't going to be a van build series. I'm not going to go into too much detail about building the van because, you know, that's not what we're here for. I'm literally making this video because Orla and I have garnered so much information and inspiration from other van videos, regardless of whether they were photographers or van life people.
For me, I wanted to make this video for that community. If it can at least inspire somebody to think outside the box a little bit and not necessarily need to follow the same pattern of how a van should look or feel — the key is just to get it going.
We embraced the "done is better than perfect" mindset because you can't be expecting things to be finished to a high standard when all you have is a drill and a jigsaw. And we didn't even have a jigsaw. Hand saw.
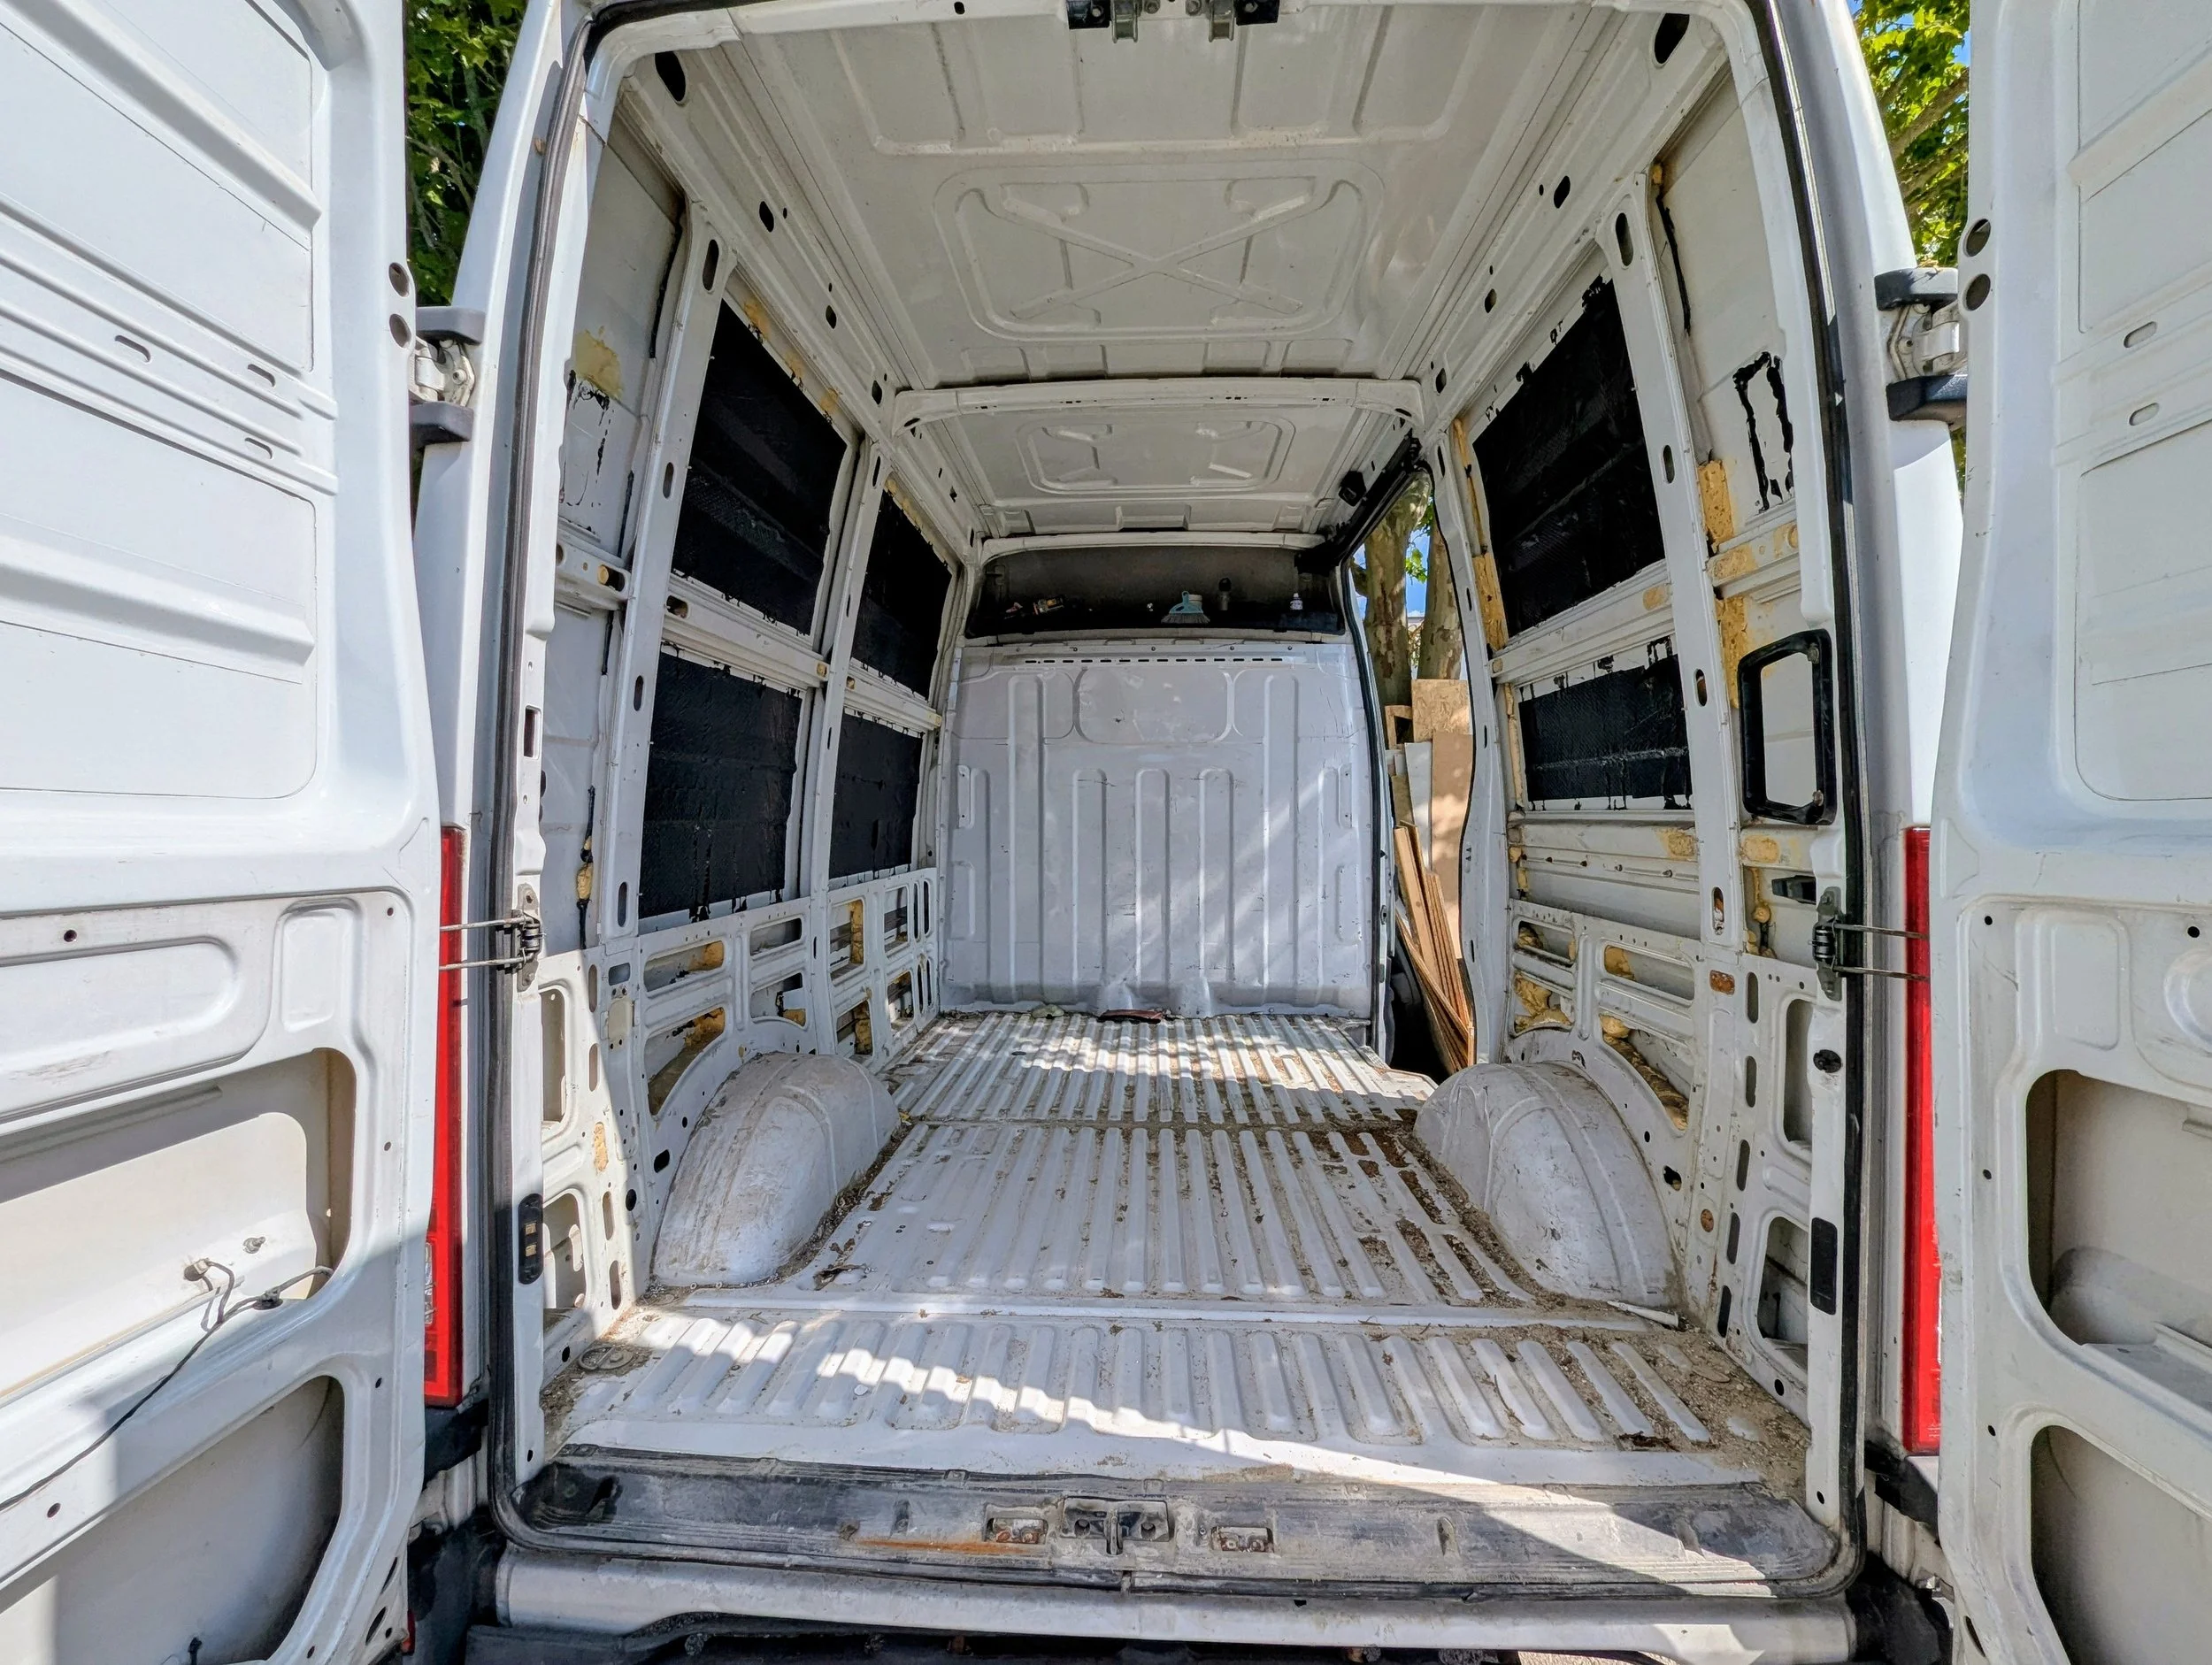
The blank canvas — ready for our DIY conversion.
The Build — What We Did
We basically wanted to be able to just go. We felt very kind of stuck where we were, and by just getting everything smashed up as quickly as we could, it basically enabled us to be able to do that.
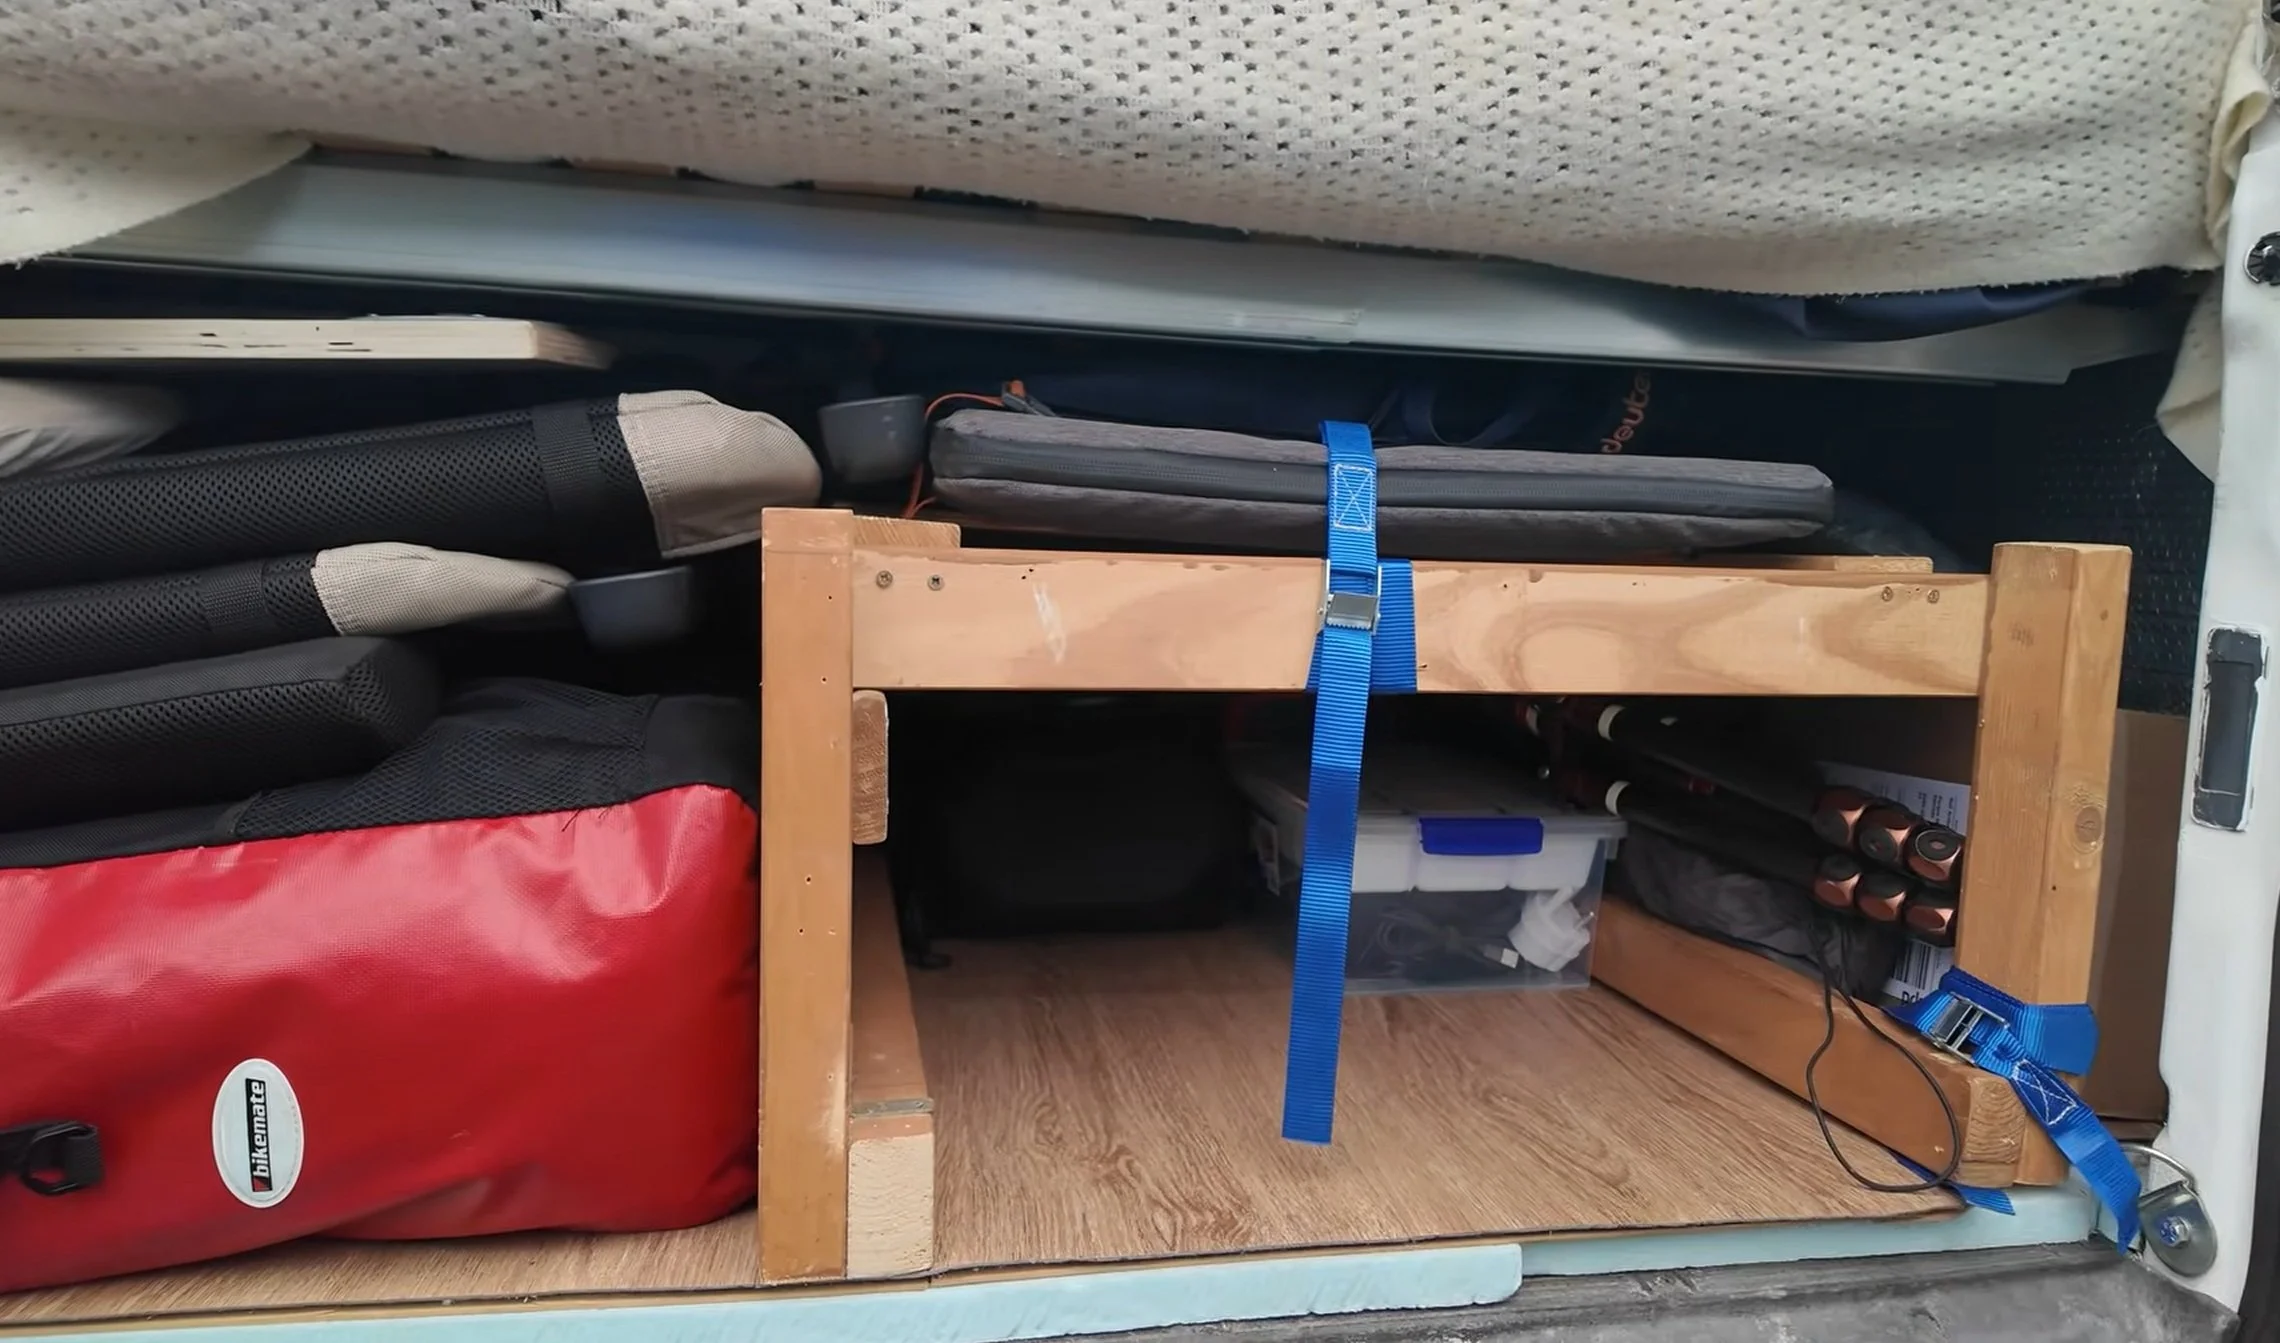
Everything we put in here by the bed frame is old van stuff from Polly. It's our tribute to that beautiful, beautiful van that served us so well.
The Bed: We decided to go from east to west, which is a pretty bog standard thing to do. I just about fit — probably have like 4 inches of space at my feet, which is fine. It does the job. And it's pretty much a double bed, which is amazing. Anything bigger than 110cm is like a king-size bed as far as we're concerned.
One of the more popular ways of mounting a bed is to use IKEA frames and score of a beams — basically bolted into the chassis of the van itself using a rivet nut gun. The IKEA slats give us a solid, sturdy bed that's not going anywhere.
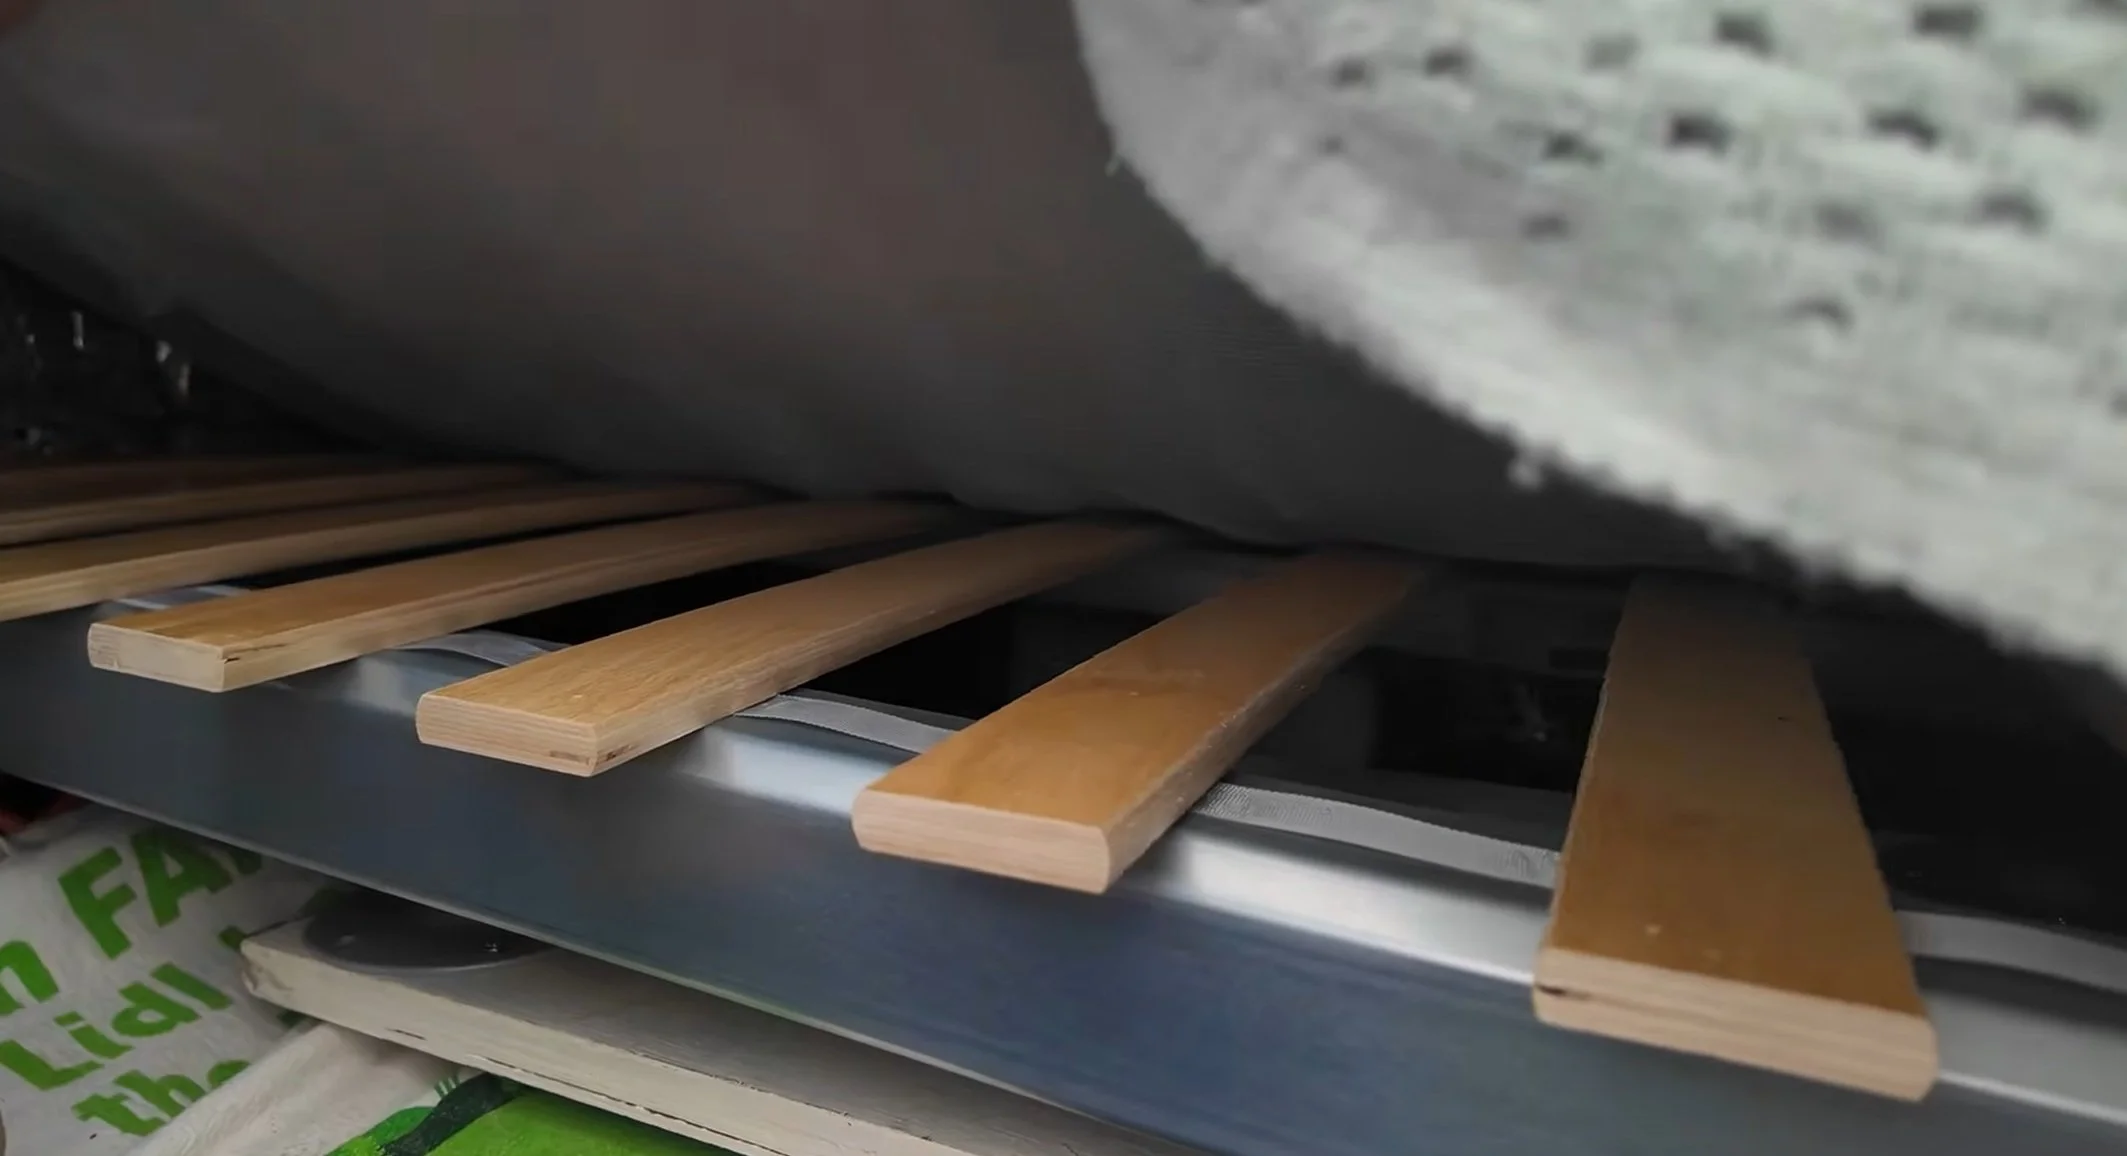
The bed frame — IKEA slats bolted to the chassis.
The Kitchen & Living Area
This table we built using legs and extendable legs from IKEA. Down below is our Alpicool compressor fridge — a 20-litre fridge that's really, really fantastic. We have that plugged into our main battery.
We mounted these baskets that we had from the old van, and they're essentially our coffee station, really. And then over here we've got some spices using a bungee cord for kitchen roll and tea towels. This is the kitchen, essentially. Just a desk. And fridge below.
This is our kind of grey water setup. And that's it. Simple. Functional. Done.
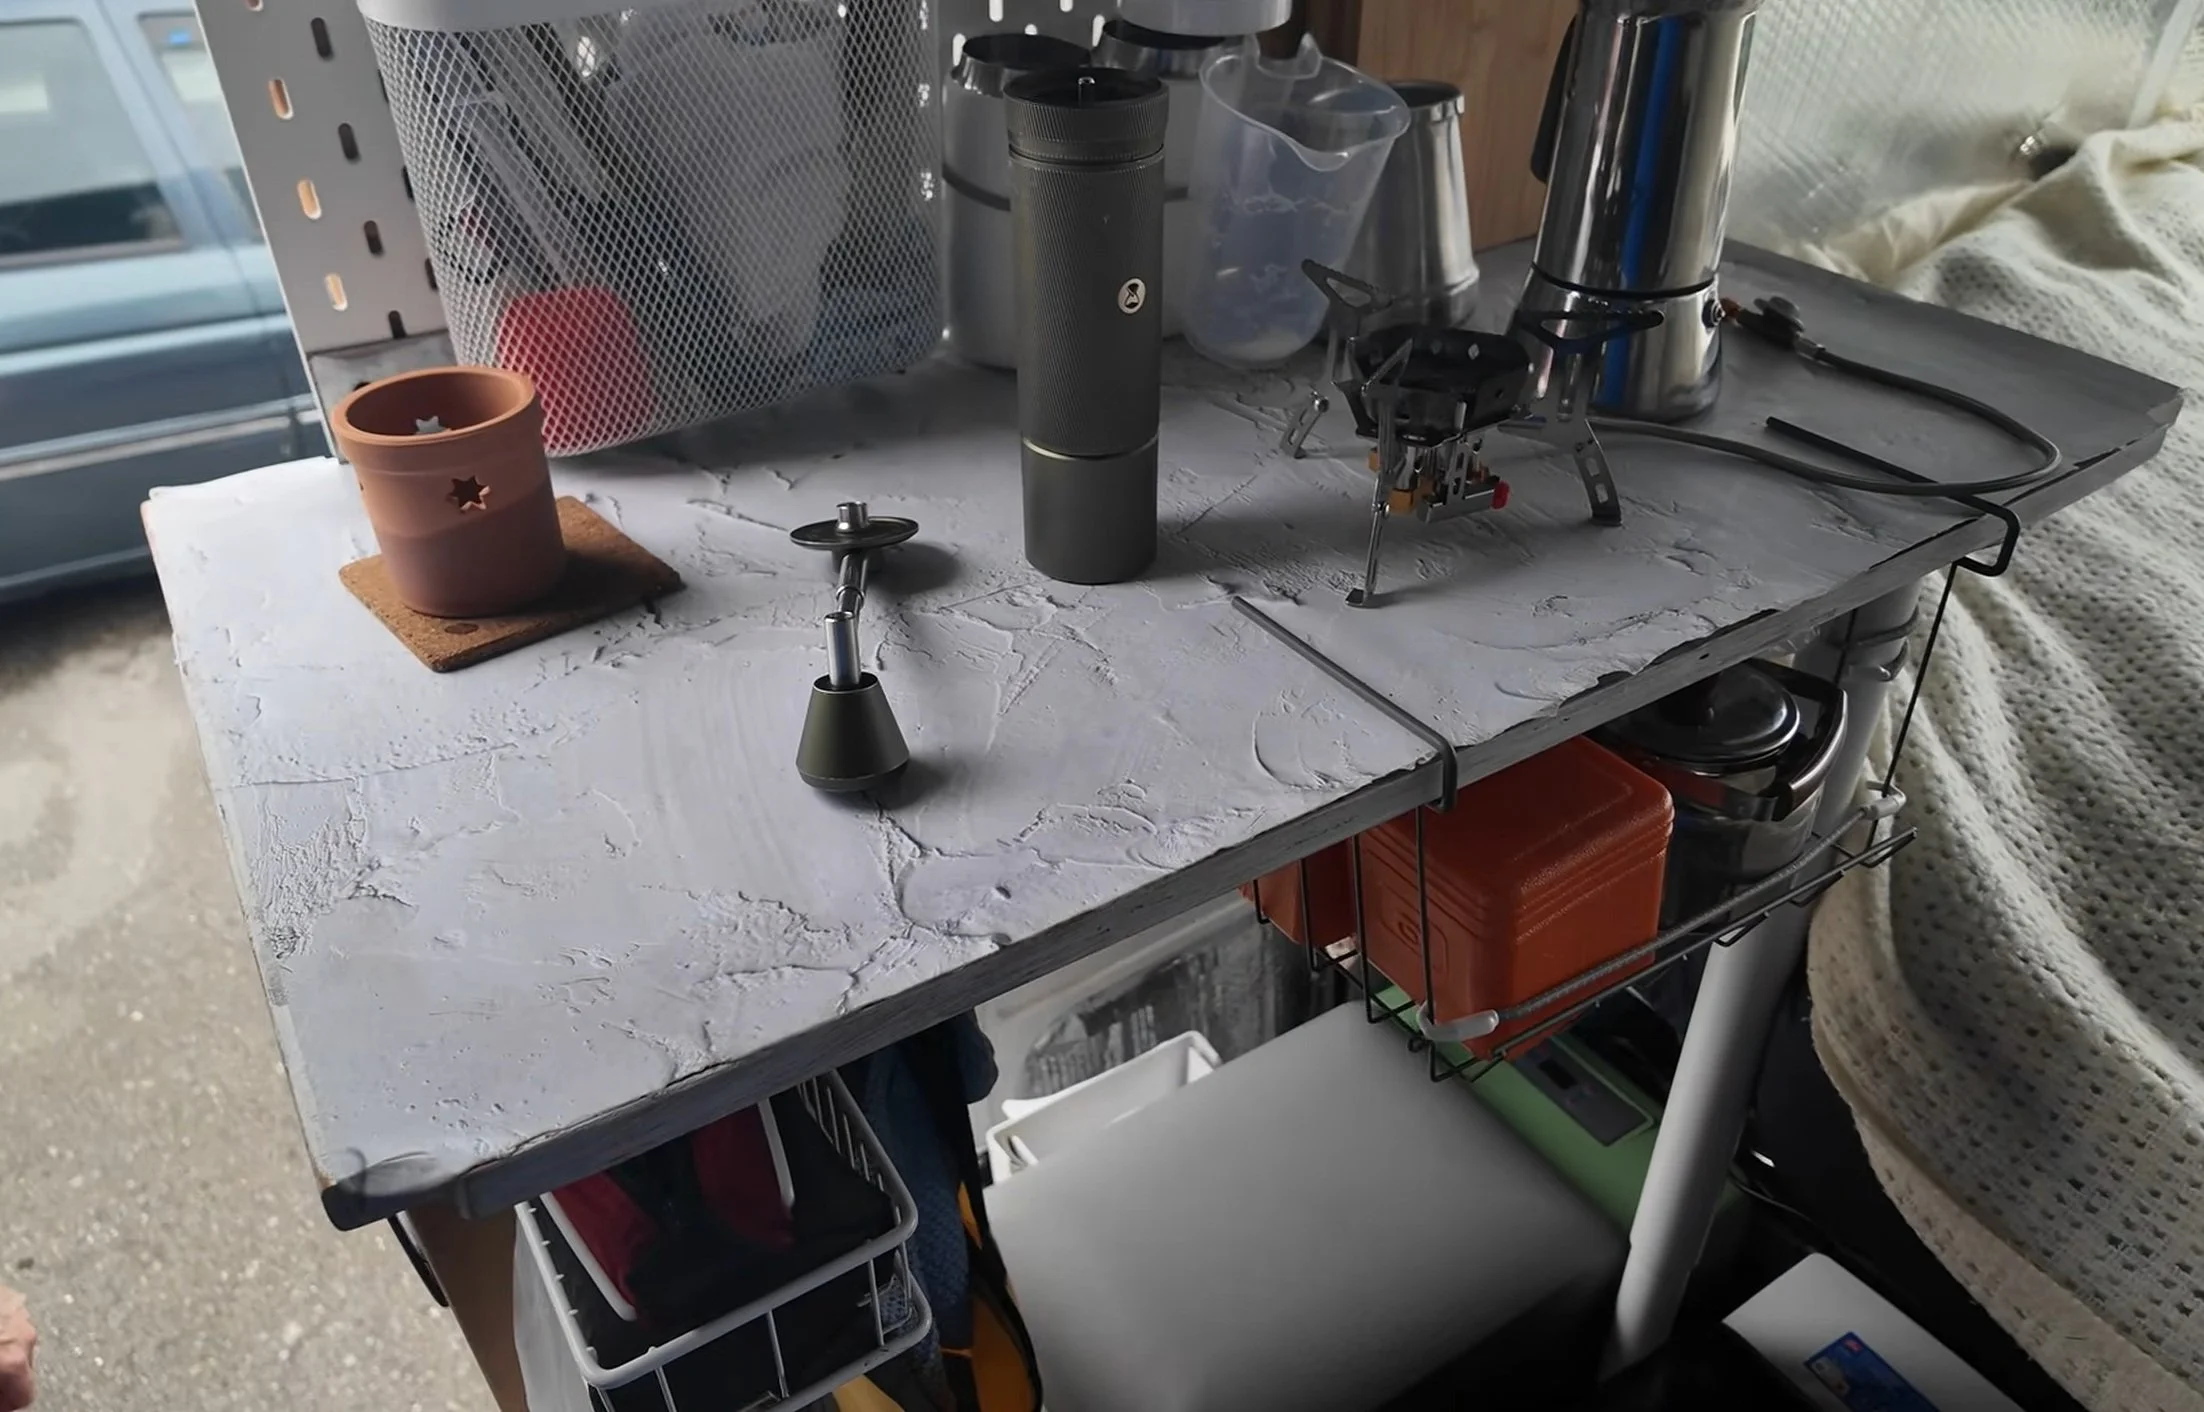
Our coffee station and kitchen — simple and functional.
Orla's Office — A Priority
Orla's work is very, very important to us being able to travel. So, this desk we built essentially around Orla's height. She does typing, as you can see. We have another one of these IKEA things mounted here where she has her keyboard mounted to.
Below the desk is her office, basically. Orla works full-time in her job, so we built this desk to accommodate her height and her kind of typing posture, which is very, very, very important for her.
It's not glamorous, but it works — and that's what matters.
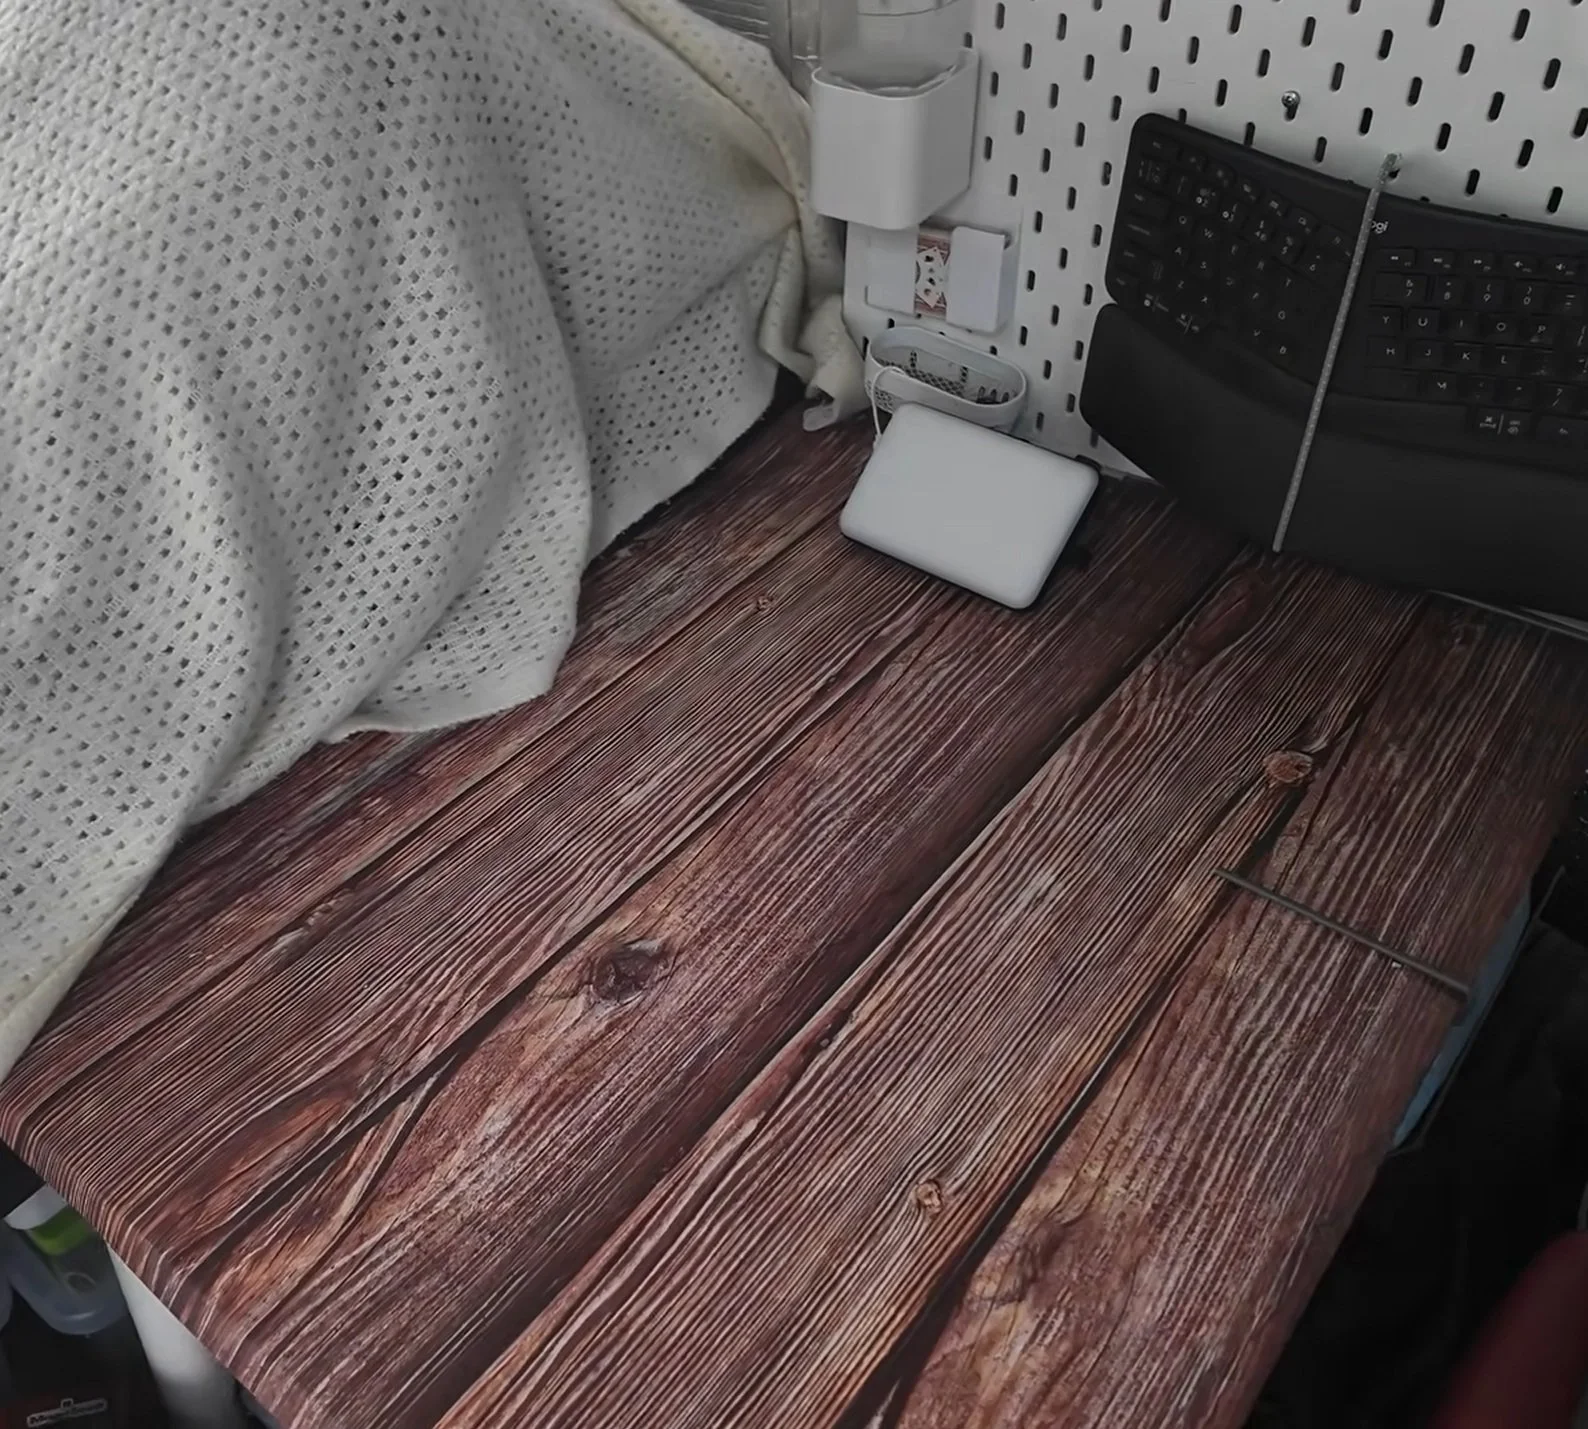
Orla's office — built around her height and typing posture.
The Electrical Setup
We are kind of EcoFlow people. They're wonderful products. Our main battery is a 1,800Wh battery, and it's great. It's just a built-in kind of box. We didn't want to do any kind of wiring or anything like that, so we just thought this kind of thing would be marvellous for us.
The pièce de résistance is our EcoFlow alternator charger, which I basically wired underneath the chair and out through the firewall into the battery. If you drive for like an hour, it pretty much charges the box-ish. It's great.
Above us, we have the EcoFlow 240W solar panel. And our curtains — blackout thermal lined curtains from Temu — really, really do the job very well indeed.
We love our electrical setup. We do intend to upgrade it a little bit with a kind of dead weight battery connected to the EcoFlow, which will basically give us maybe five or six times the capacity. As it stands now, when Orla works and the fridge is on, there's just enough power for maybe 2 or 3 days if we're wild camping. But then we'd need to either drive or check into a campsite with electricity.
With the new upgrade, we hope to get maybe five or six days where we don't necessarily need to worry about campsites or anything like that.
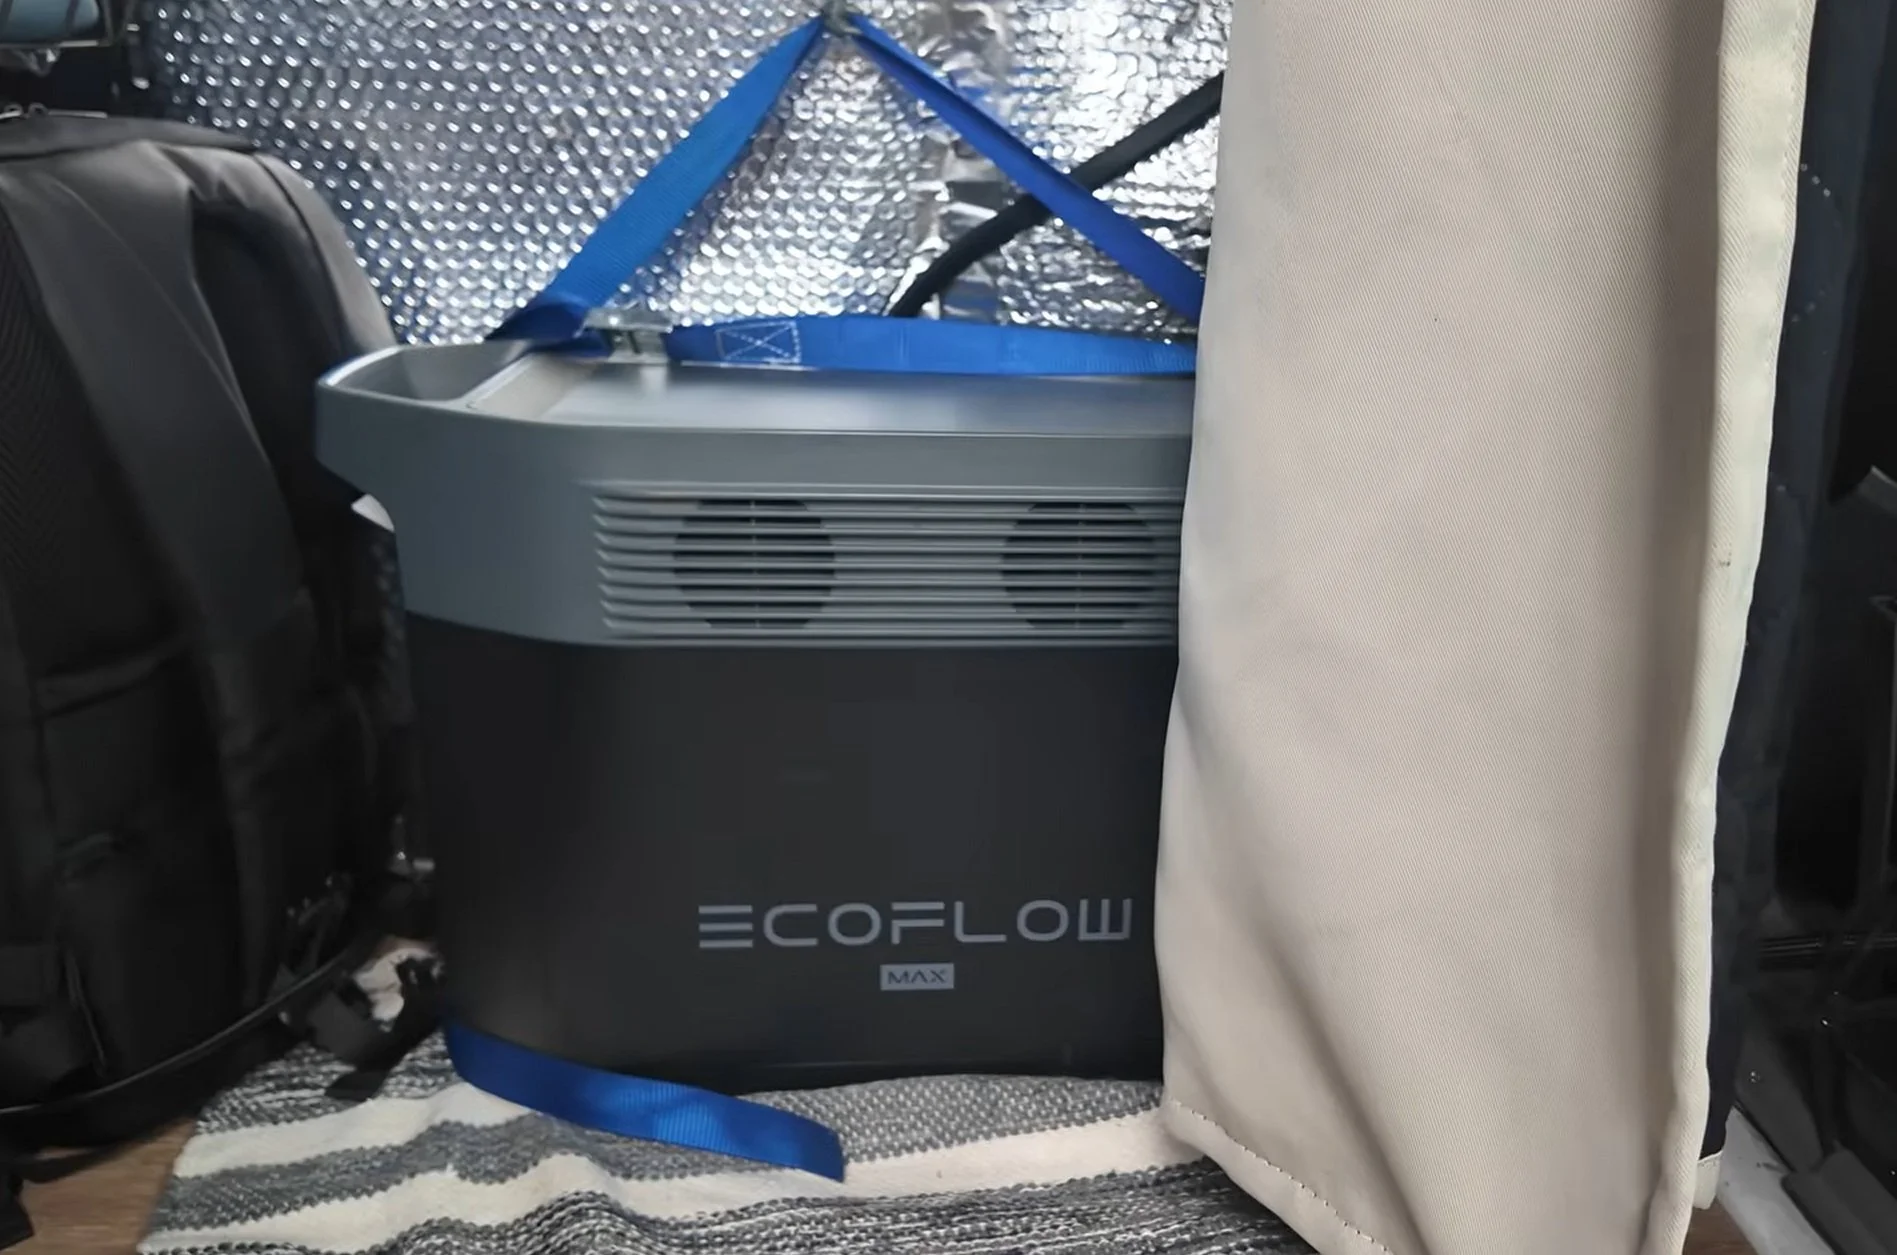
The brains of the operation — EcoFlow battery and alternator charger.
Gear Storage — My Photography Setup
One of the most important things for me was making sure I could bring my photography gear. Above us is all of my camera equipment. The idea with this kind of tarp is that it drops down and it basically shields all of this from rain if I still need to get my gear. It's really come in handy for us a lot.
Having my gear organised and accessible means I'm always ready to shoot — whether it's a sunrise on the coast or a random chicken at a graveyard. Vanlife and photography go hand in hand, and Druss makes it all possible.
My photography gear — protected and ready to go.
The Challenges — And How We Overcame Them
Now, there are a few bits and bobs that needed to be fixed. The barrel on the lock is totally knackered — it just spins. The sliding door on the other side can only be opened from the inside. That'll have to get checked and fixed.
But other than that, it is just absolutely wonderful.
We also didn't have any tools here. Paul, who runs the coffee shop in town, grew up in Kilkenny and his dad's a mechanic — he knows engines inside and out. He came out with me. And then there's a Portuguese guy here as well, João, who came out to do all the translating and he's been building campervans for years and years. Fair play to them. The three of us went out — it was like that scene in Snatch when they go looking for the caravan for Mickey. It was pretty much like that.
And they even haggled for us. We lowballed them to hell and in fairness, we got a very, very good deal for such a well-looked-after, maintained car.
The Freedom
The most important thing here is always to remember that it's done, and it's not perfect, but it's done. And it gives us the creative freedom to be able to travel and experience everything that you're about to watch over the coming weeks.
We are so delighted with it. And we're super excited to get home and travel around Ireland in it for a little bit before we come back to continental Europe.
We keep on remarking about how amazing it is to be able to stand up, and we absolutely adore it. This van is a kind of extra tall model, so we have loads of space, and it is magnificent.
What's Next for Druss?
We're heading back to Ireland for a while — exploring the Wild Atlantic Way, finding new photography locations, and enjoying the freedom of being on the road. Druss will be our home base for all kinds of adventures, and I can't wait to share them with you.
If you want to follow along, hit that subscribe button on YouTube and keep an eye on the blog. There's plenty more to come.
📌 Quick Summary — What We Learned
- Done is better than perfect — get on the road
- You don't need expensive tools to build a van
- Be flexible and adapt to challenges
- Embrace the "no shoes" van life
- Standing up changes everything
- Simple electrical setups can work wonders
- The adventure is worth the effort
So, anyways, that's usually it, folks. Van life videos. If you like the video, do give it a thumbs up and a like. And of course, if you fancy following along for the adventures, you're most welcome to hit that subscribe button.
Van life. Living the dream, folks. Living the dream.
Want to See Where Druss Takes Us Next?
I photograph the most incredible places — from the golden dunes of Namibia to the snow-covered villages of Japan. All of it made possible by having a home on wheels. If you'd like to experience these locations with me, I'd love to have you along on a workshop.
Explore Photography Workshops →