Star Trails Photography
A Complete Beginner's Guide
Camera settings, intervalometer setup, StarStax software, and the lessons I learned on my first attempt
I've photographed the night sky many times, but star trails were something I'd never attempted.
It occurred to me recently that this was a glaring gap in my astrophotography experience. So, during a clear night at El Torcal National Park — at 1300m elevation, miles from any light pollution — I decided to give it a go. I had no idea what I was doing, and that's exactly why I wanted to share the process with you.
This guide covers everything I learned: camera settings, intervalometer setup, post-processing in StarStax, and the mistakes I made along the way. If I can do it, so can you.
What Are Star Trails?
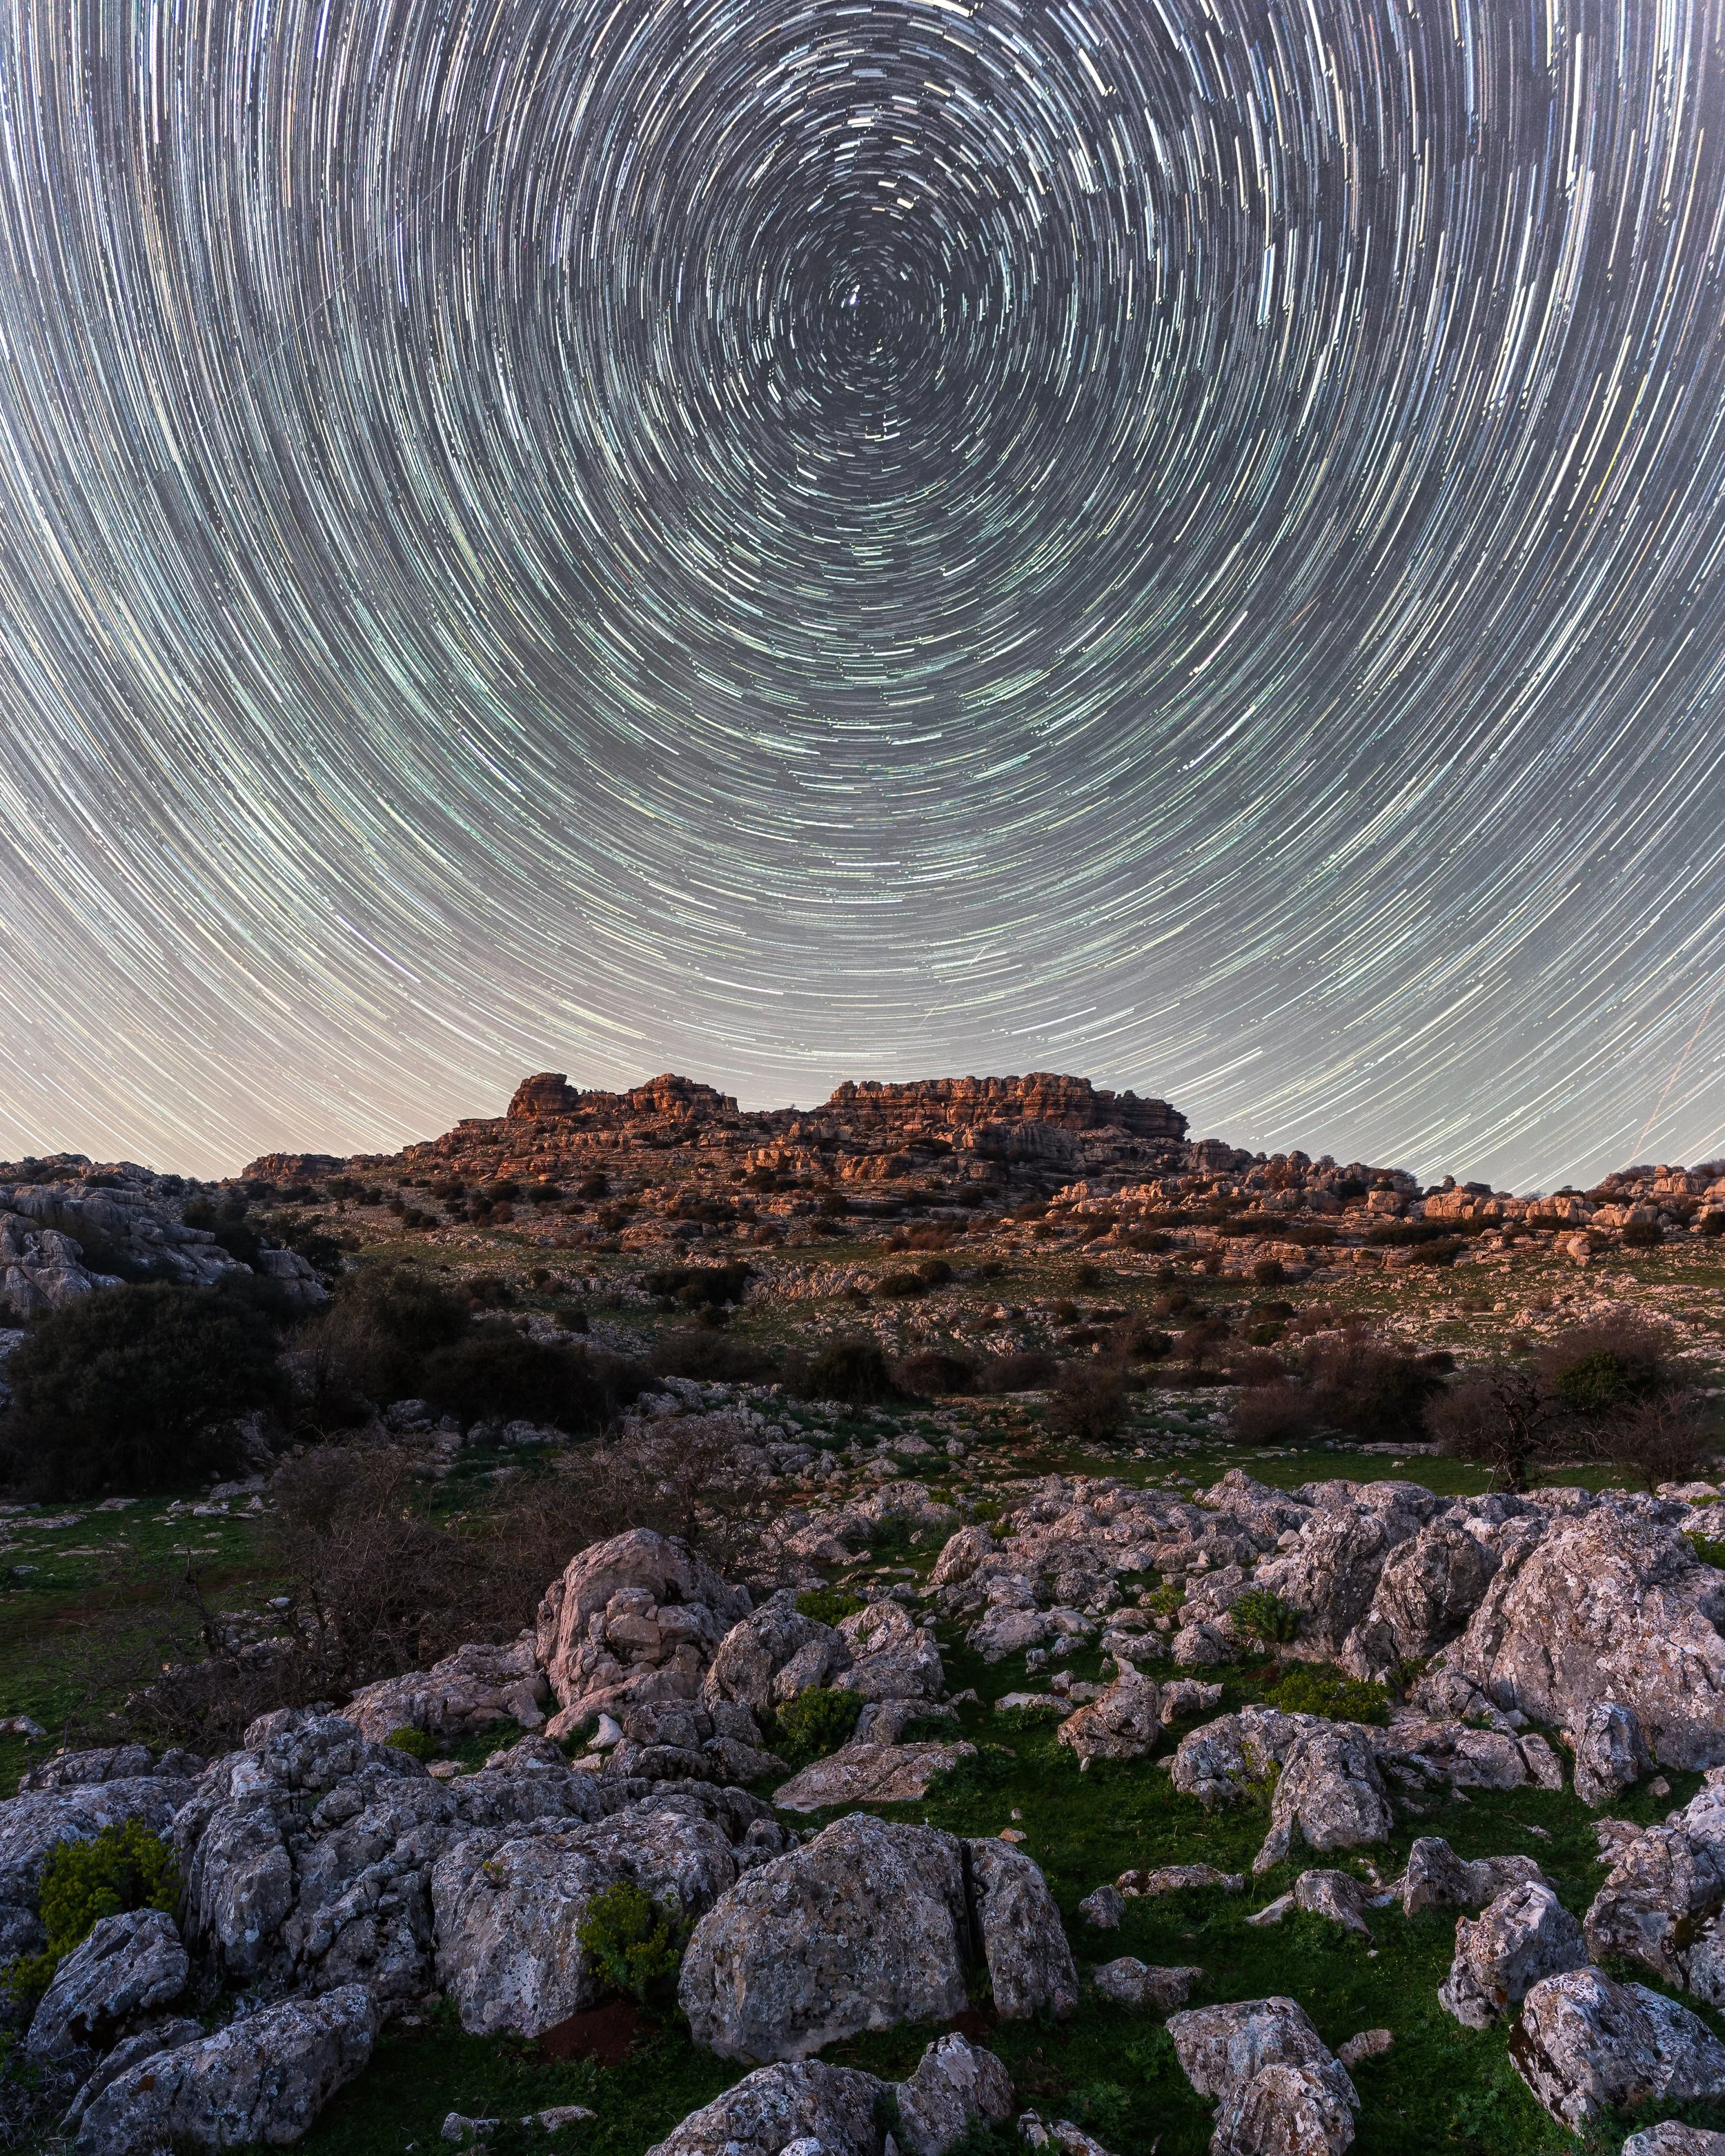
Star trails are the visual effect created when you photograph the night sky over a long period of time. As the Earth rotates, the stars appear to move across the sky in circular paths. The key to capturing this effect is stacking multiple exposures — taking hundreds of individual frames and combining them into a single image.
The star at the center of the rotation is Polaris, the North Star. All other stars appear to rotate around it. You don't need Polaris in the frame, but it helps create those classic circular trails that everyone loves.
Essential Gear for Star Trails
What You'll Need
- A camera with manual controls — any DSLR or mirrorless camera will work
- A wide-angle lens with a fast aperture — f/2.8 or wider. I used the Zeiss Batis 18mm f/2.8.
- A sturdy tripod — essential. 3 Legged Thing Winston 2.0 is what I use.
- An intervalometer — built-in or external. This one works perfectly.
- Spare batteries — cold nights drain them fast. Keep them warm in your pocket.
- StarStax software — free and available at startrails.de.
Step 1: Camera Setup
Setting up the camera correctly is the most important step. Here's exactly what I did:
Camera Settings
- Focus: Set to manual focus. Auto-focus won't work in the dark. Use live view and manually focus on a bright star or distant light.
- Aperture: f/2.8 (or as wide as your lens will go). This lets in maximum light.
- ISO: 1600–3200. Start at 1600 and adjust based on how bright the stars appear in your test shots.
- Shutter speed: 30 seconds per frame. This is the maximum exposure time before star movement becomes visible as streaks in a single frame.
- White balance: 3800K–4200K (or "Tungsten"). This keeps the night sky looking natural and avoids excessive orange casts.
- Image format: RAW — essential for post-processing flexibility.
Pro tip: Take a few test shots before starting the sequence. Check the focus, composition, and exposure. It's much easier to fix issues now than after two hours of shooting.
Step 2: Setting Up the Intervalometer
The intervalometer is what triggers the camera to take a series of photos automatically. Here's how I set mine up:
Intervalometer Settings
- Number of shots: 200 frames (this gave me about 1 hour and 42 minutes of shooting time)
- Exposure time: 30 seconds per frame
- Interval: 31 seconds (30 sec exposure + 1 second for the camera to process)
- Start delay: Set to begin immediately
The maths: 200 frames × 31 seconds = 6,200 seconds = approximately 1 hour and 43 minutes. I'm terrible at maths, so I had to figure this out slowly — but the formula is simple: (Number of frames × Interval time) = Total shooting time.
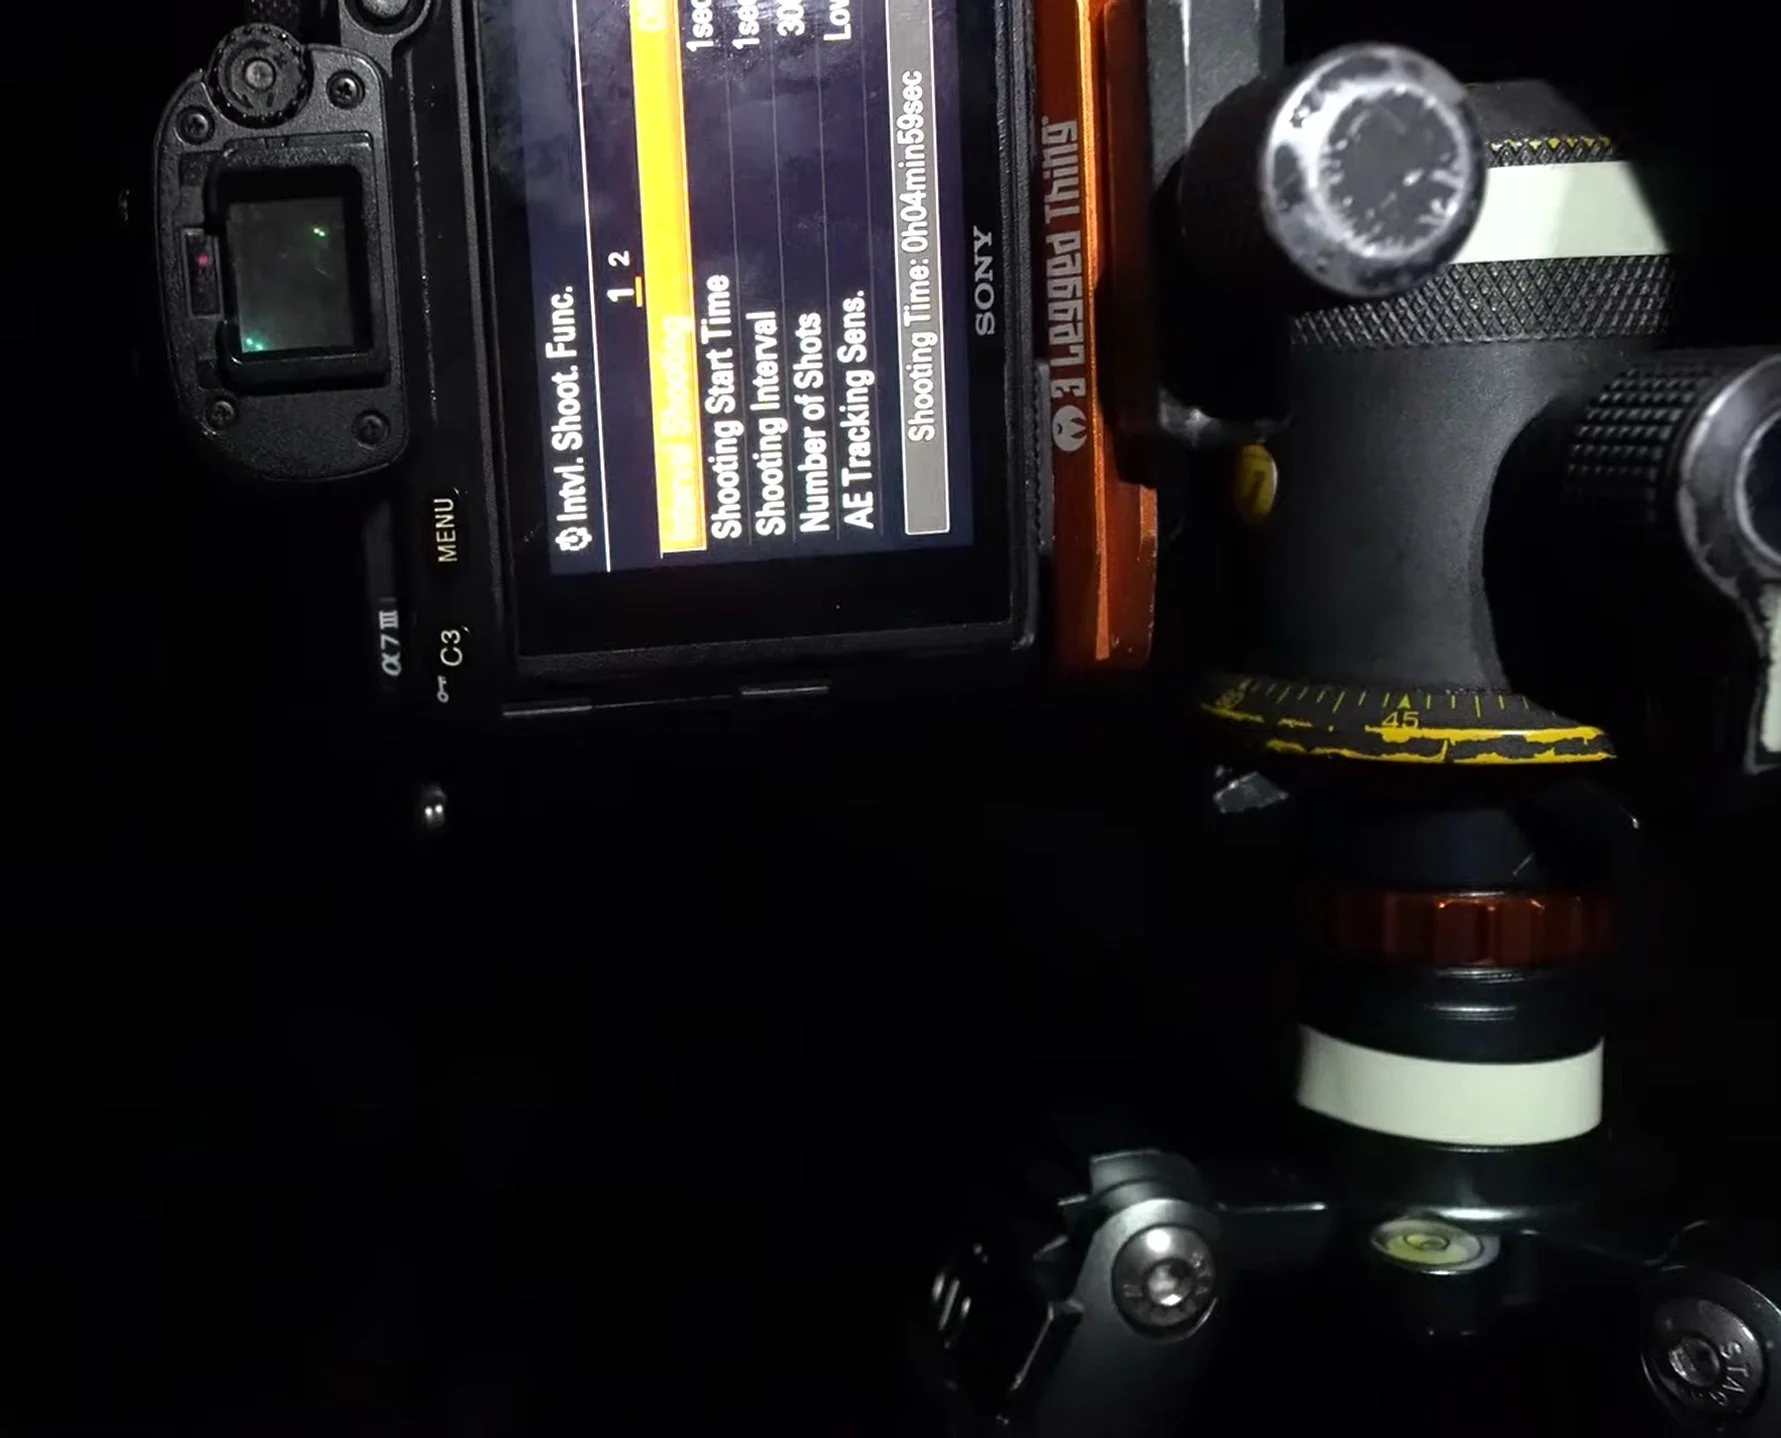
The camera setup — Zeiss Batis 18mm on a tripod, ready for a long night of shooting.
Step 3: The Wait
Once you press "go," there's nothing to do but wait. I walked away from the camera, had some food, and let it do its thing. At 1300m elevation, the air was cold and incredibly clear. The silence was wonderful.
What to watch out for:
- Car headlights — they'll create unwanted light streaks through your frame
- Head torches — hikers walking through the frame will leave trails
- Clouds — keep an eye on the sky. If clouds roll in, stop the sequence
In my sequence, some hikers walked through the frame with head torches, and a few cars passed by. I decided to exclude those frames in post-processing to keep the final image clean.
Step 4: Post-Processing — StarStax
StarStax is free software that stacks your images together to create the star trails effect. Here's how to use it:
StarStax Workflow
- Import your images: Load all the RAW or JPEG files into StarStax.
- Choose a stacking mode: "Gap Filling" is the most common — it fills the small gaps between exposures.
- Press "Start": The software will process the stack and show you a preview.
- Save the result: Export as a TIFF or JPEG for further editing in Photoshop or Lightroom.
Watching the stars rotate around in StarStax was genuinely exciting. I was internally giddy — even if I didn't show it on camera. The software created a beautiful time-lapse preview as it processed, showing the trails slowly forming. It's a magical moment when you see your vision coming to life.
Step 5: Photoshop — Blending the Foreground
The StarStax image gives you the star trails, but the foreground will usually look dark and noisy. Here's how I blended the foreground:
Foreground Blending Workflow
- Separate foreground: I took a dedicated foreground exposure during twilight (before the stars were out) and focus-stacked it for sharpness.
- Process both images: Edit the foreground and the star trails separately in Lightroom or Camera Raw.
- Layer them in Photoshop: Place the foreground on top of the star trails. Use a layer mask to reveal only the foreground elements.
- Feather the mask: Use a soft brush on the mask to blend the two layers seamlessly.
- Final adjustments: Crop, adjust contrast, and apply any final colour grading.
The Final Image
After all the work — two hours in the cold, an hour of processing, and a fair bit of trial and error — here's the final result:
The final image — Polaris spinning above the limestone landscape of El Torcal. My first ever star trail photograph.
Key decisions I made in post:
- Crop to 4x5: The original frame had a lot of foreground. I cropped to bring more emphasis to the rocks and the spiraling stars.
- Excluded unwanted light trails: I removed the frames with car headlights and hikers' head torches. It meant using fewer images in the final stack — about 100 instead of 193 — but the result was much cleaner.
- Balanced the foreground: The twilight exposure gave me a clean, detailed foreground to blend with the starry sky.
What I Learned
This was my first attempt at star trails, and I learned a lot. Here are the key takeaways:
- Polaris matters: I was thrilled that I managed to frame Polaris above the central mountain. It makes the circular trails much more satisfying.
- More isn't always better: I initially used 193 frames, but the final image was cleaner with about 100 frames. Sometimes less is more.
- Find a dark location: El Torcal at 1300m was perfect — no light pollution, clear skies, and incredible silence.
- Patience is non-negotiable: This is a waiting game. Two hours of shooting, an hour of processing — it's not instant gratification.
- Plan for unwanted light: Car headlights and hikers will ruin your frames. Be prepared to exclude them.
What's next? I'm already excited to try this again — especially without using Polaris as the focal point. I love those images where star trails swoop and swirl in all sorts of directions. There's so much to explore in astrophotography, and I'm only just getting started.
🌍 Join the Andalucía Photography Workshop
Experience the light of Southern Spain for yourself. Photograph white villages, Ronda's dramatic gorge, El Torcal's limestone labyrinths — and now, star trails. Small groups, expert tuition, and the trip of a lifetime.
Explore the Workshop →