Northern Lights Photography
Northern Lights Photography — Settings & Tips
Exposure settings · Composition · Dealing with street lamps · Waiting for the peak
Words by Neil Arthurs
I've been super lucky to have seen the Northern Lights a good handful of times now. It never ceases to amaze me.
Standing on a frozen beach at midnight, watching green and purple ribbons dance across the sky — it's one of those experiences that stays with you forever. But photographing it? That takes some practice.
In this post, I'll share the techniques I've learned from shooting the aurora in Lofoten — from the technical settings to the mental approach. I hope it helps you capture your own magical night under the Arctic sky.
If you're travelling to Norway, consider using an eSIM from Airalo to stay connected without relying on expensive roaming or local SIM cards.
1. Exposure Settings — The Basics
There's no single "right" setting for the aurora — it depends on how bright the lights are and how fast they're moving. But here's where I usually start:
- Aperture: f/2.8 or wider — you want as much light as possible.
- ISO: 1600–3200 — start here and adjust based on the brightness.
- Shutter Speed: 5–15 seconds — if the aurora is moving fast, use a shorter exposure to freeze the motion. If it's slow, you can go longer.
In the video, I mentioned that two images were taken "within the space of half a second" and the aurora had already moved significantly. That's how fast it can change. If it's dancing, keep your exposures short. If it's a gentle glow, you can afford longer.
2. The Peak and the Trough
One thing I've learned about the aurora: it peaks and it troughs.
In the video, I pointed out that the photograph of Hamnøy was taken about "four or five minutes before" the time-lapse that followed. There was a small bit of downtime between them — a lull in the activity. Then it came back, stronger than ever.
This is crucial. If you arrive at a location and the aurora is quiet, don't pack up and leave. Wait. Sometimes it comes back. And when it does, it can be spectacular.
Patience is the single most important thing you can bring to aurora photography.
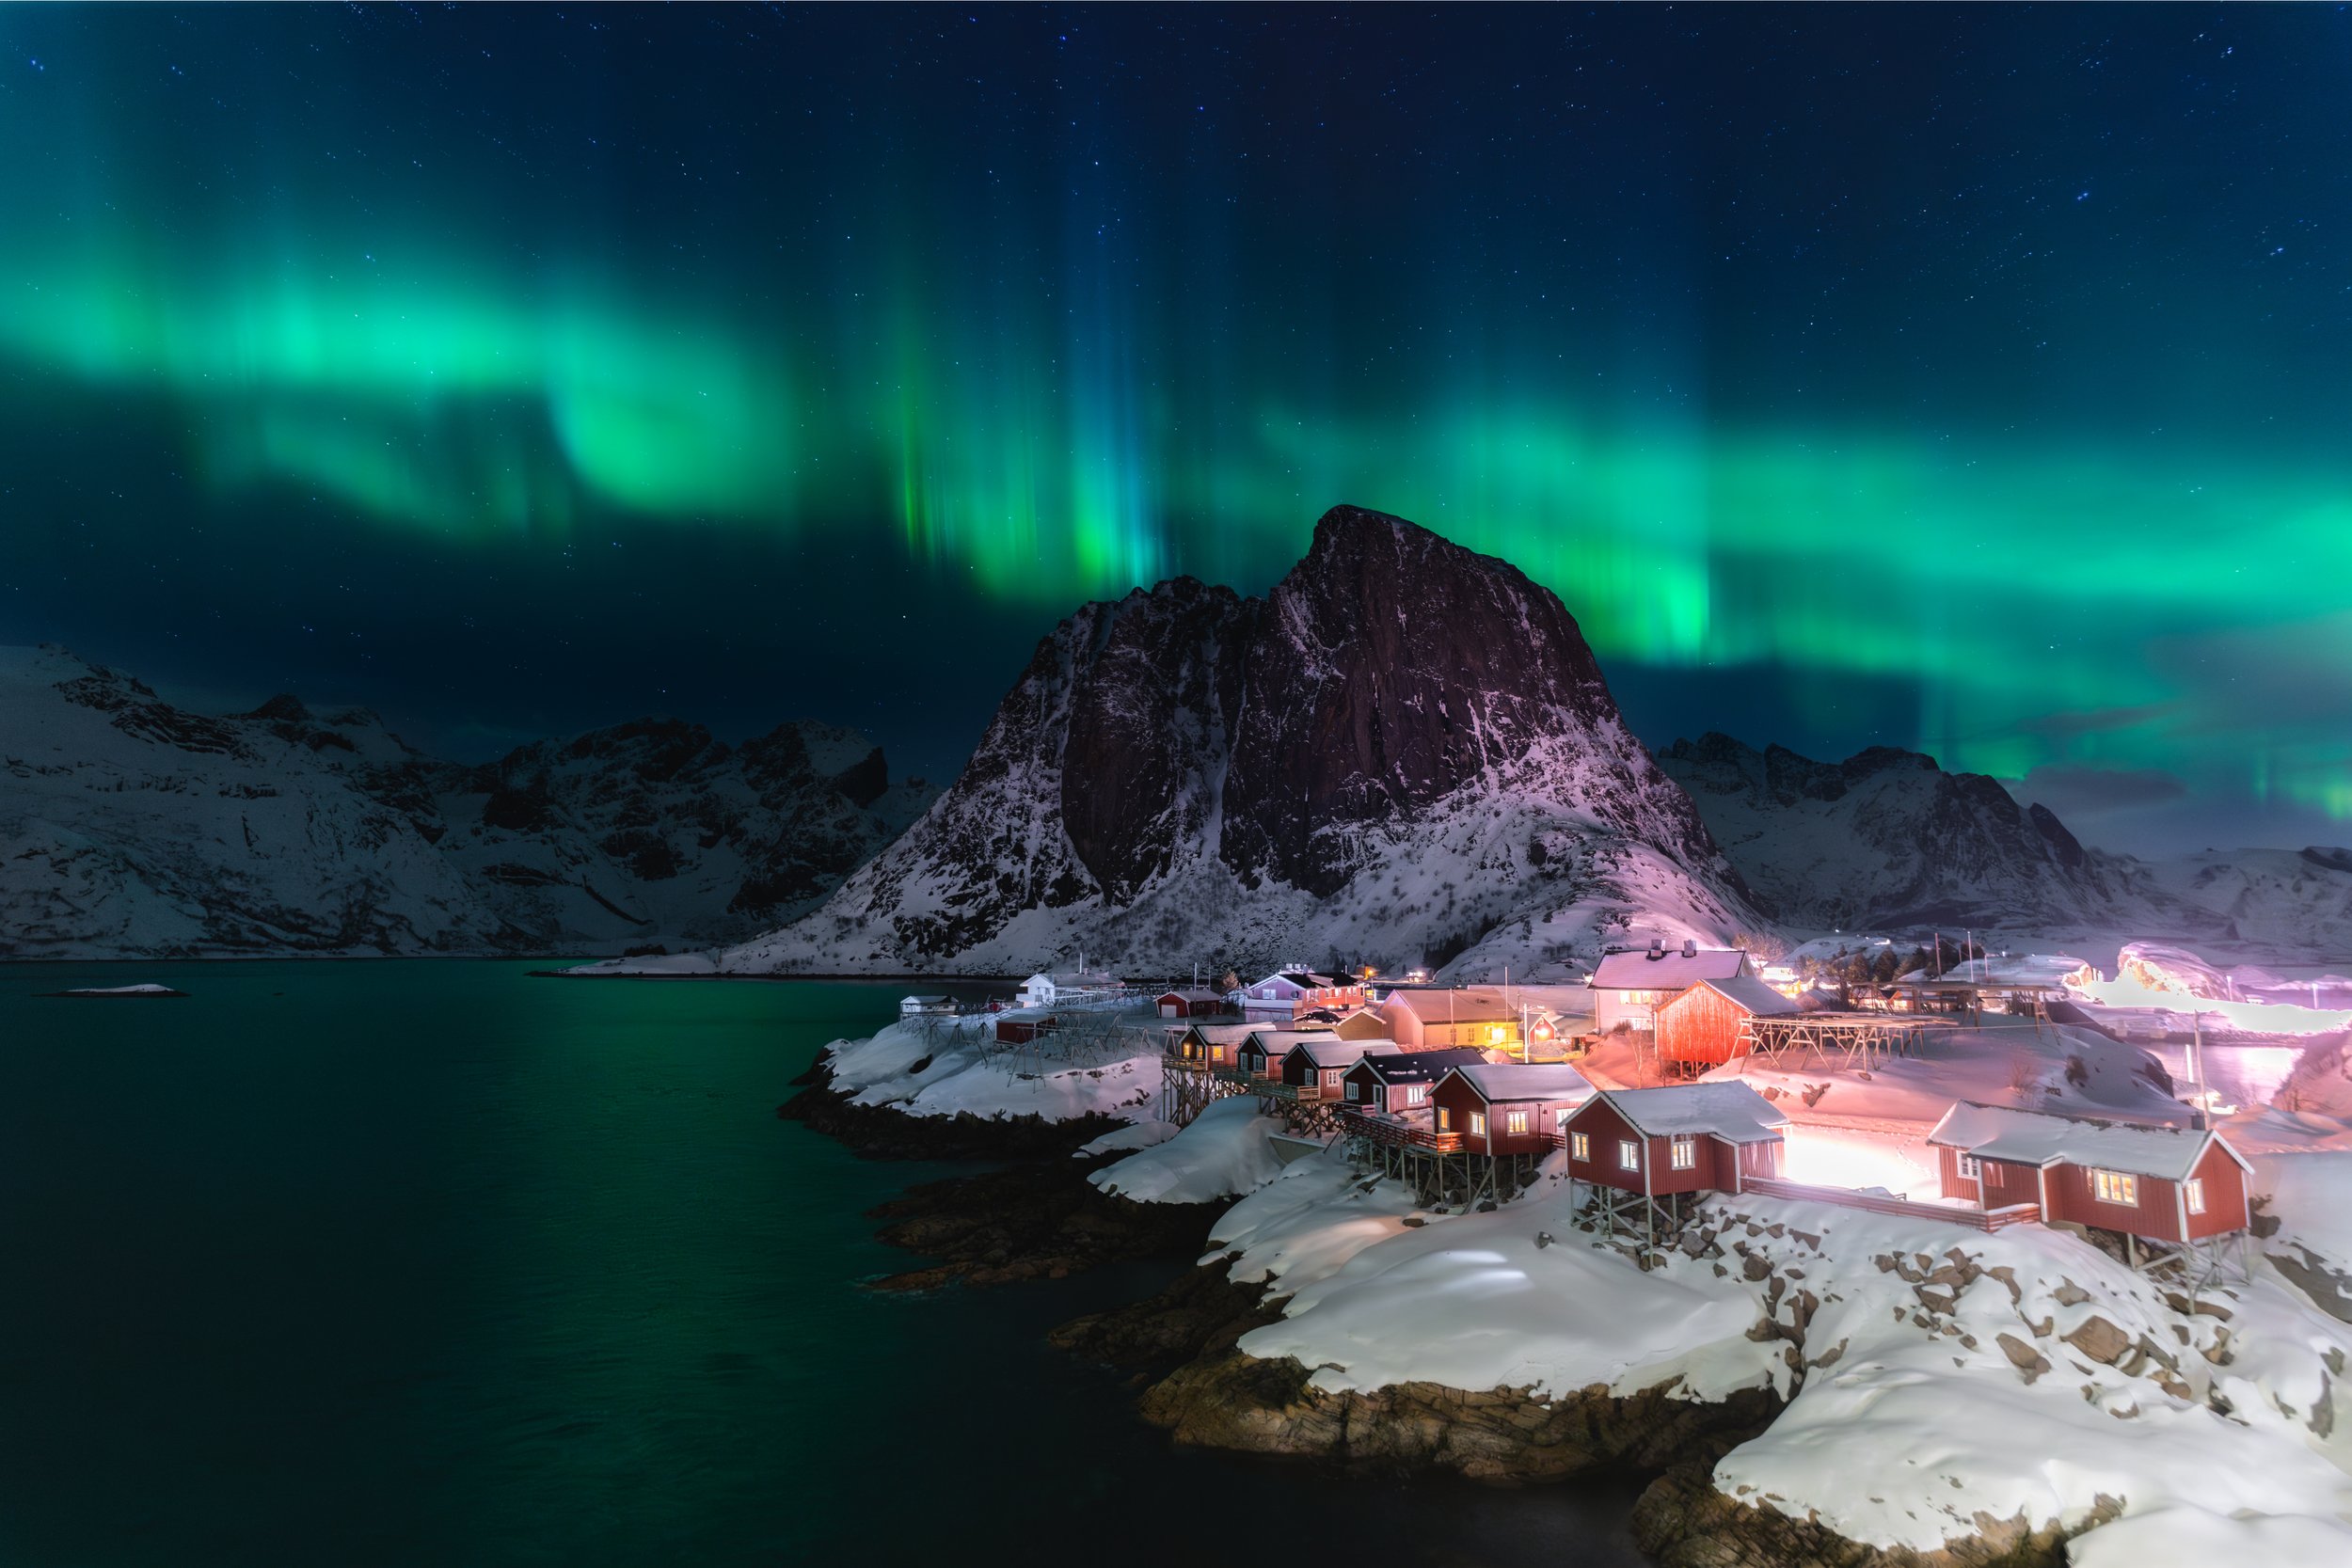
Hamnøy at night — the aurora sweeping over the iconic scene. Patience paid off.
3. Street Lamps and Exposure Blending
One of the challenges of aurora photography in places like Hamnøy is the street lamps in the village below. They're warm, orange, and bright — and they clash with the cold green and blue of the aurora.
In the video, I mentioned that this image was "a bit of a blend." Here's how I approach it:
- Shoot multiple exposures — one for the sky (where the aurora is properly exposed) and one for the foreground (where the street lamps aren't blown out).
- In post-production, blend them together using layer masks or luminosity masks.
- The goal is balance — you don't want the lamps to look completely flat, but you also don't want them to distract from the aurora.
In the final image, there are still some slightly blown-out highlights in the street lamps — and that's okay. It adds to the natural feel of the scene.
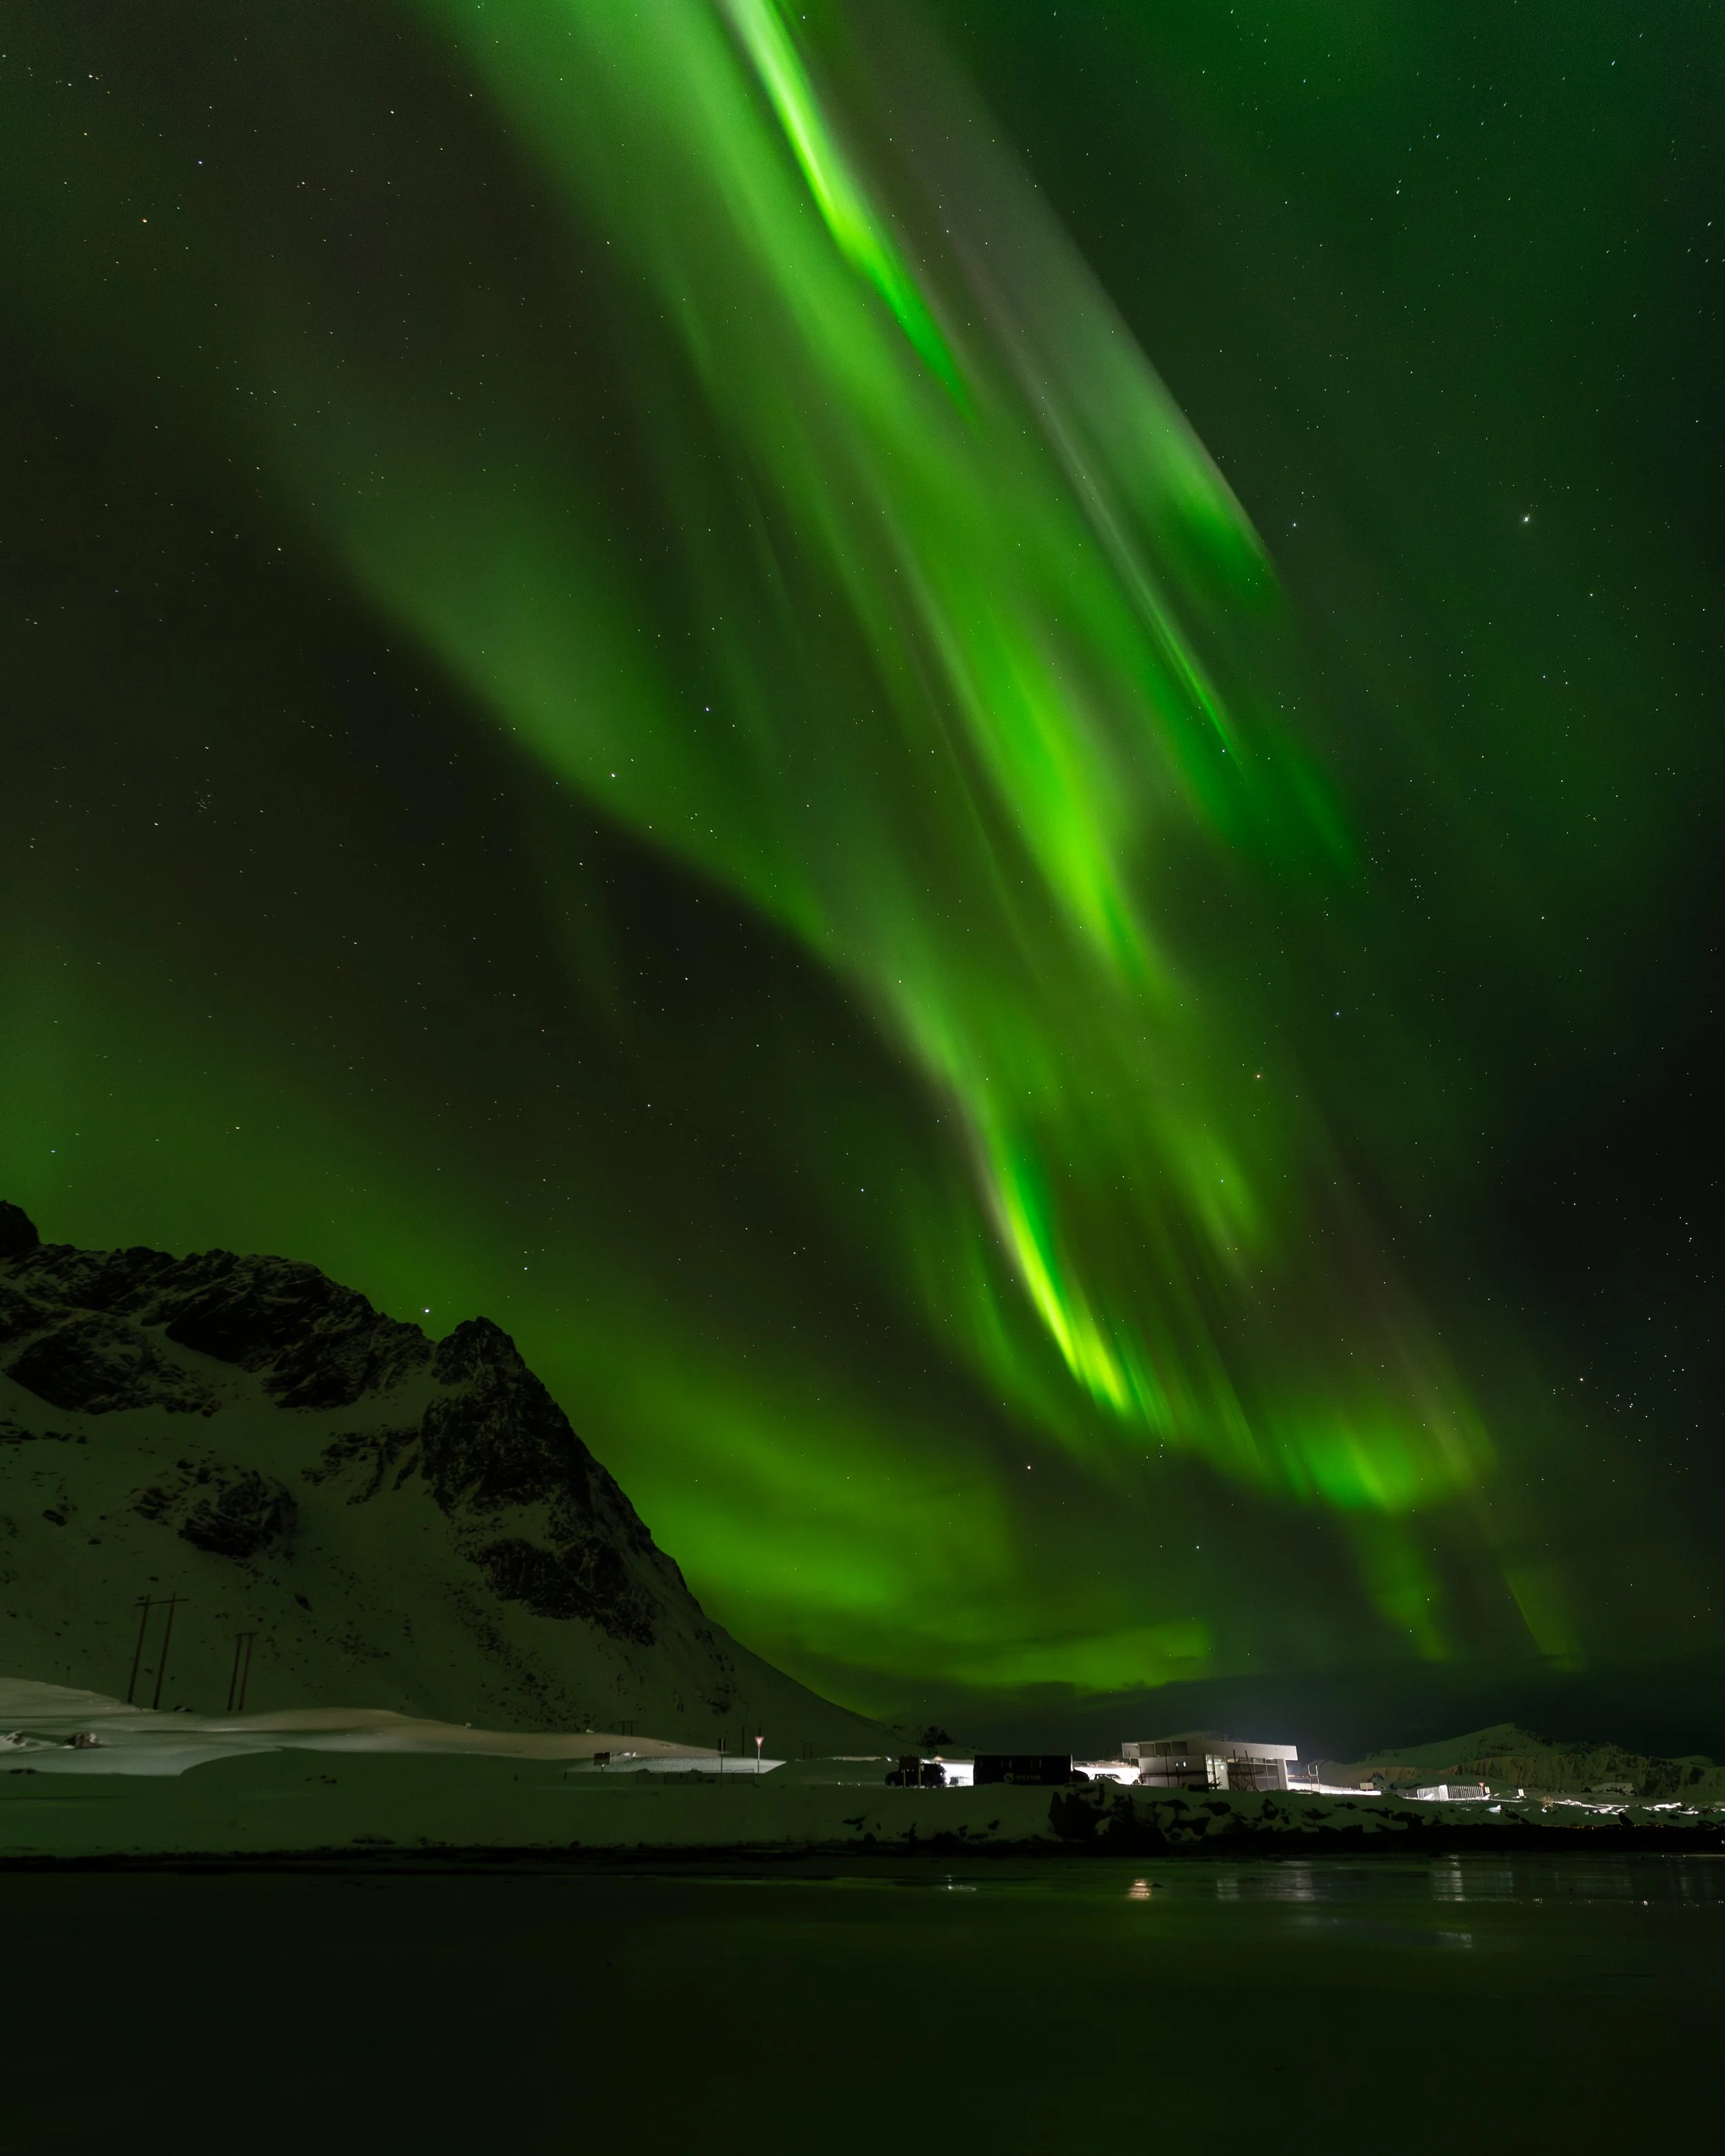
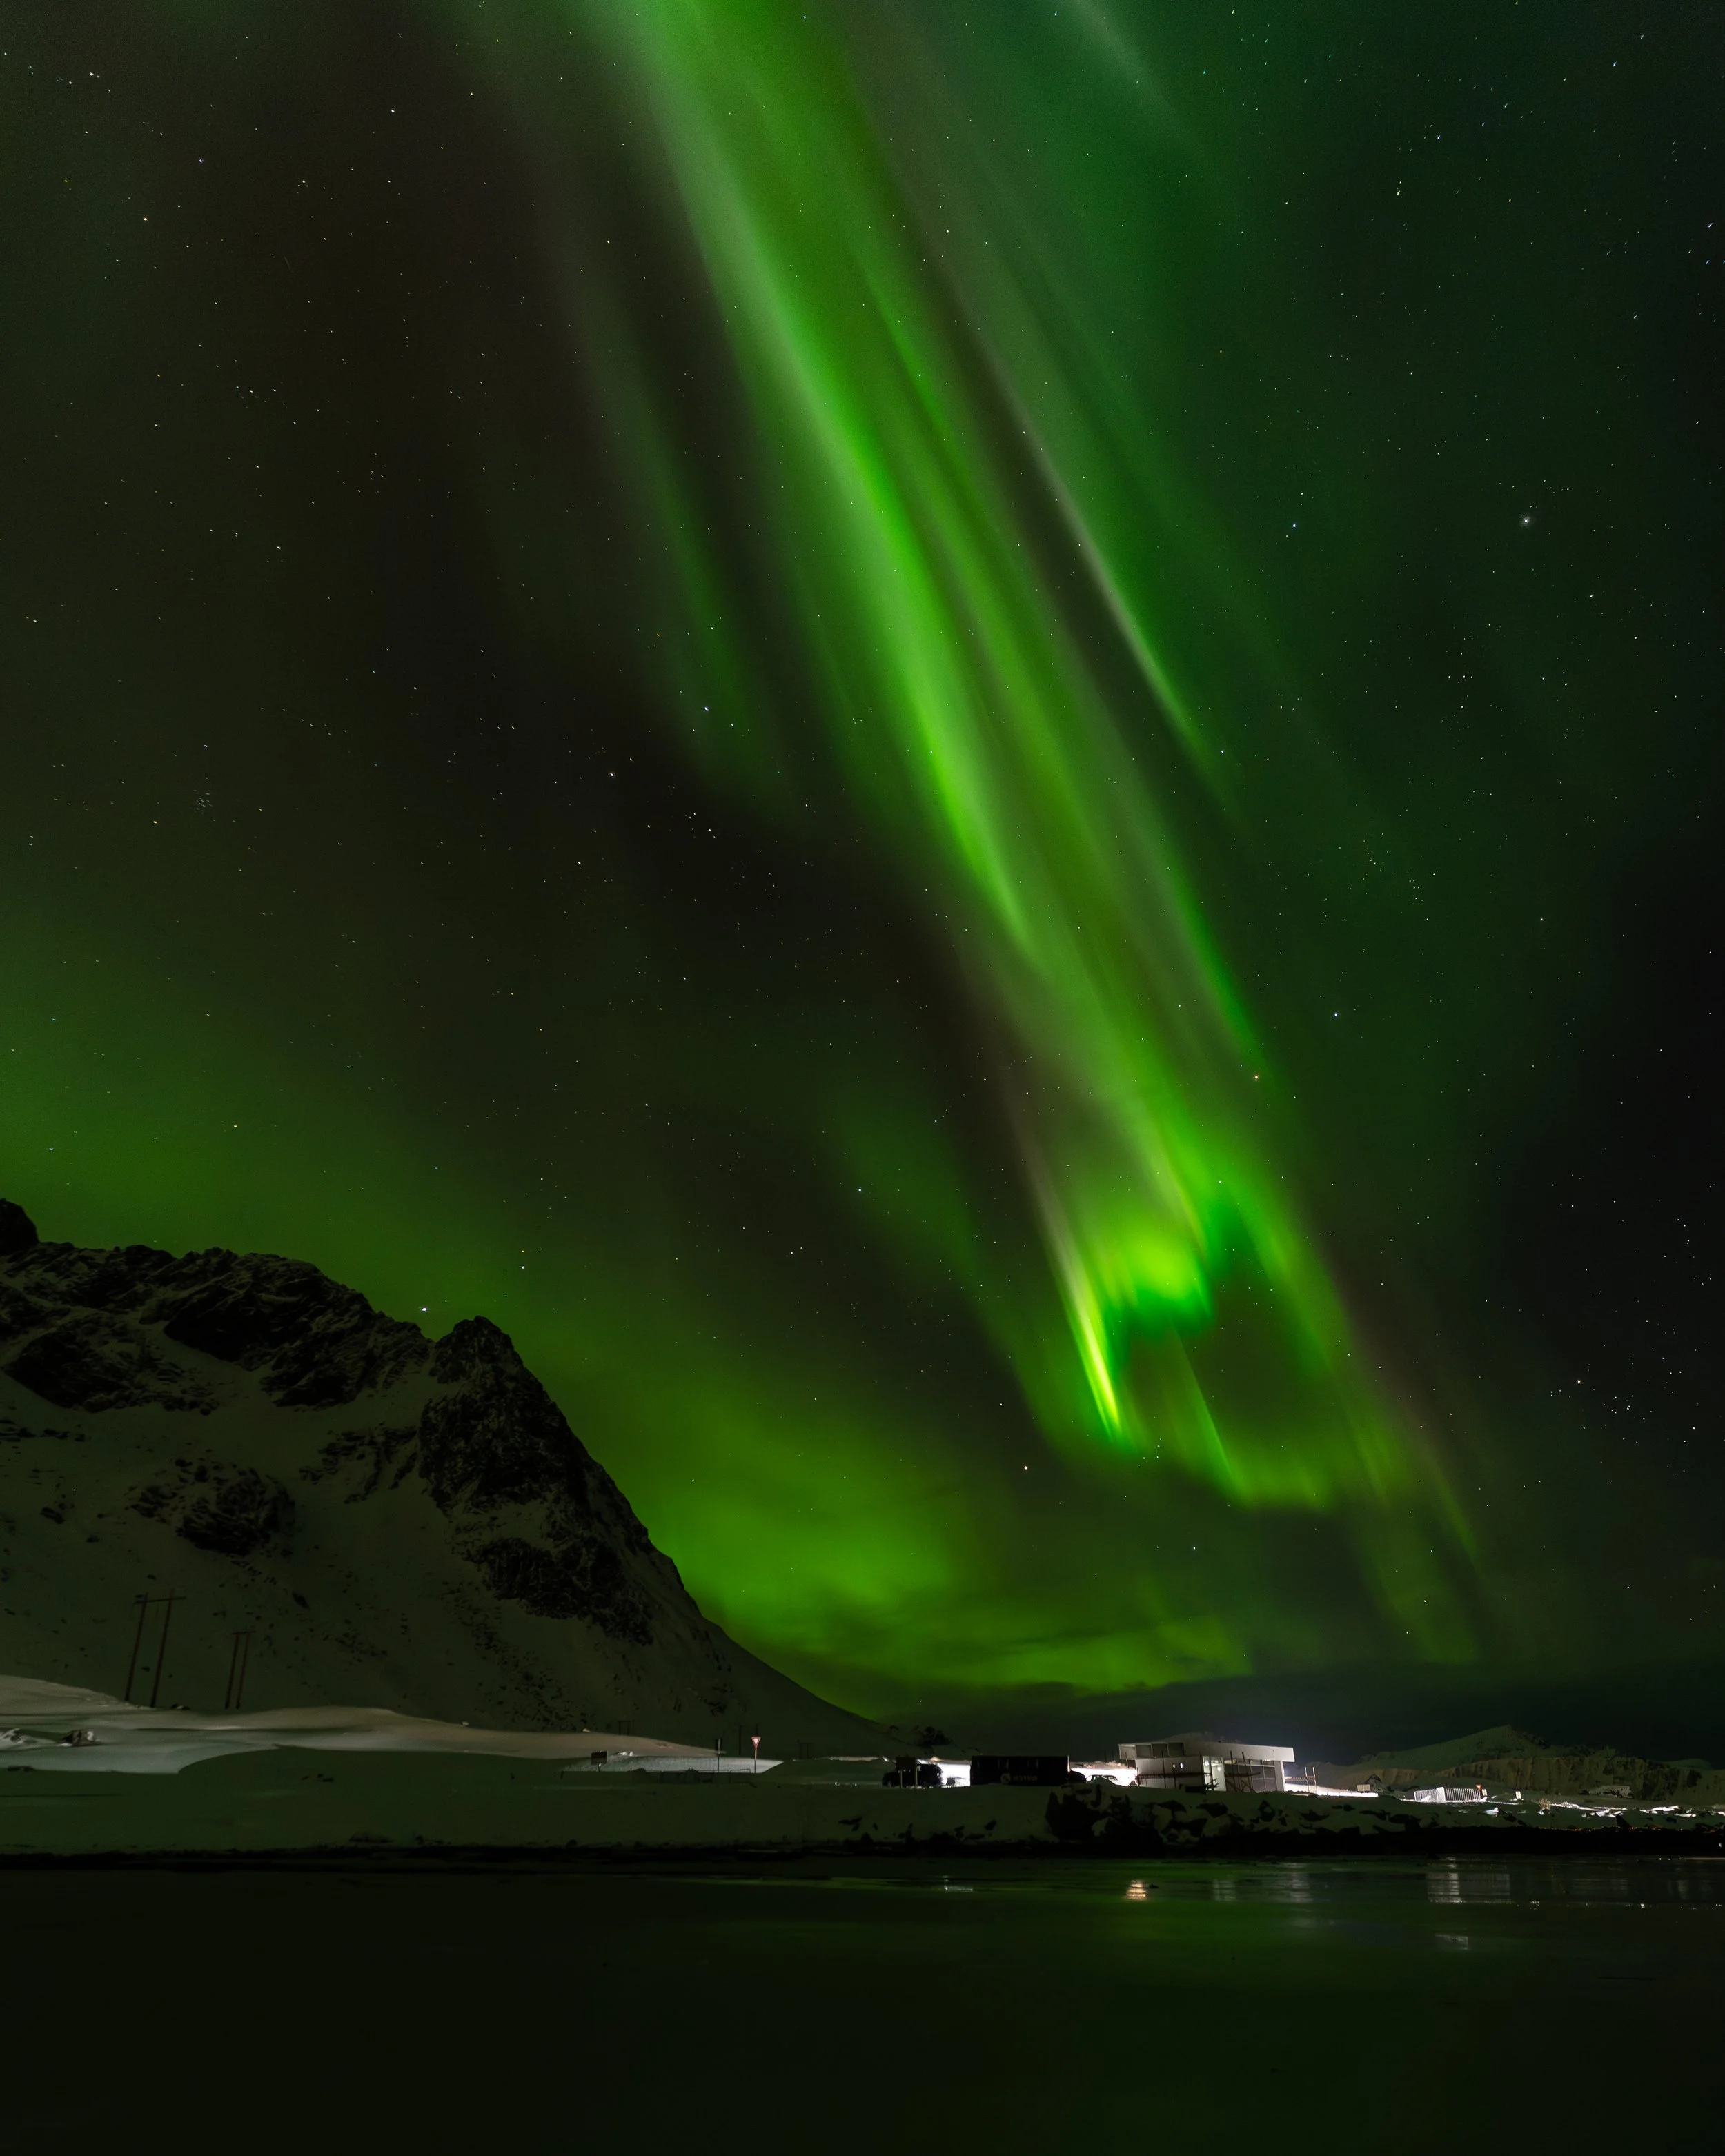
Taken within half a second of the next image — the aurora moves fast.
The same scene, a split second later — no two images are the same.
"No image is the same," I said in the video. And it's true. Like capturing the ocean, every frame is individual. That's what makes photographing the aurora so wonderful — you're capturing moments that will never exist again.
4. Composition — Pointing Your Camera Up
I'll be honest: some of my aurora images aren't the strongest compositions. In the video, I said:
"I wouldn't go crazy about how they turned out in terms of composition — but pointing your camera up at the sky while it illuminates green and has hints of blue and purples — for me, it doesn't really matter if the compositions aren't incredibly strong. I am just delighted to be able to photograph such a display of nature."
And I stand by that. Sometimes, the experience is the most important thing. But if you can include a foreground — like the red cabins at Hamnøy or the rocks at Uttakleiv — it gives the image context and scale.
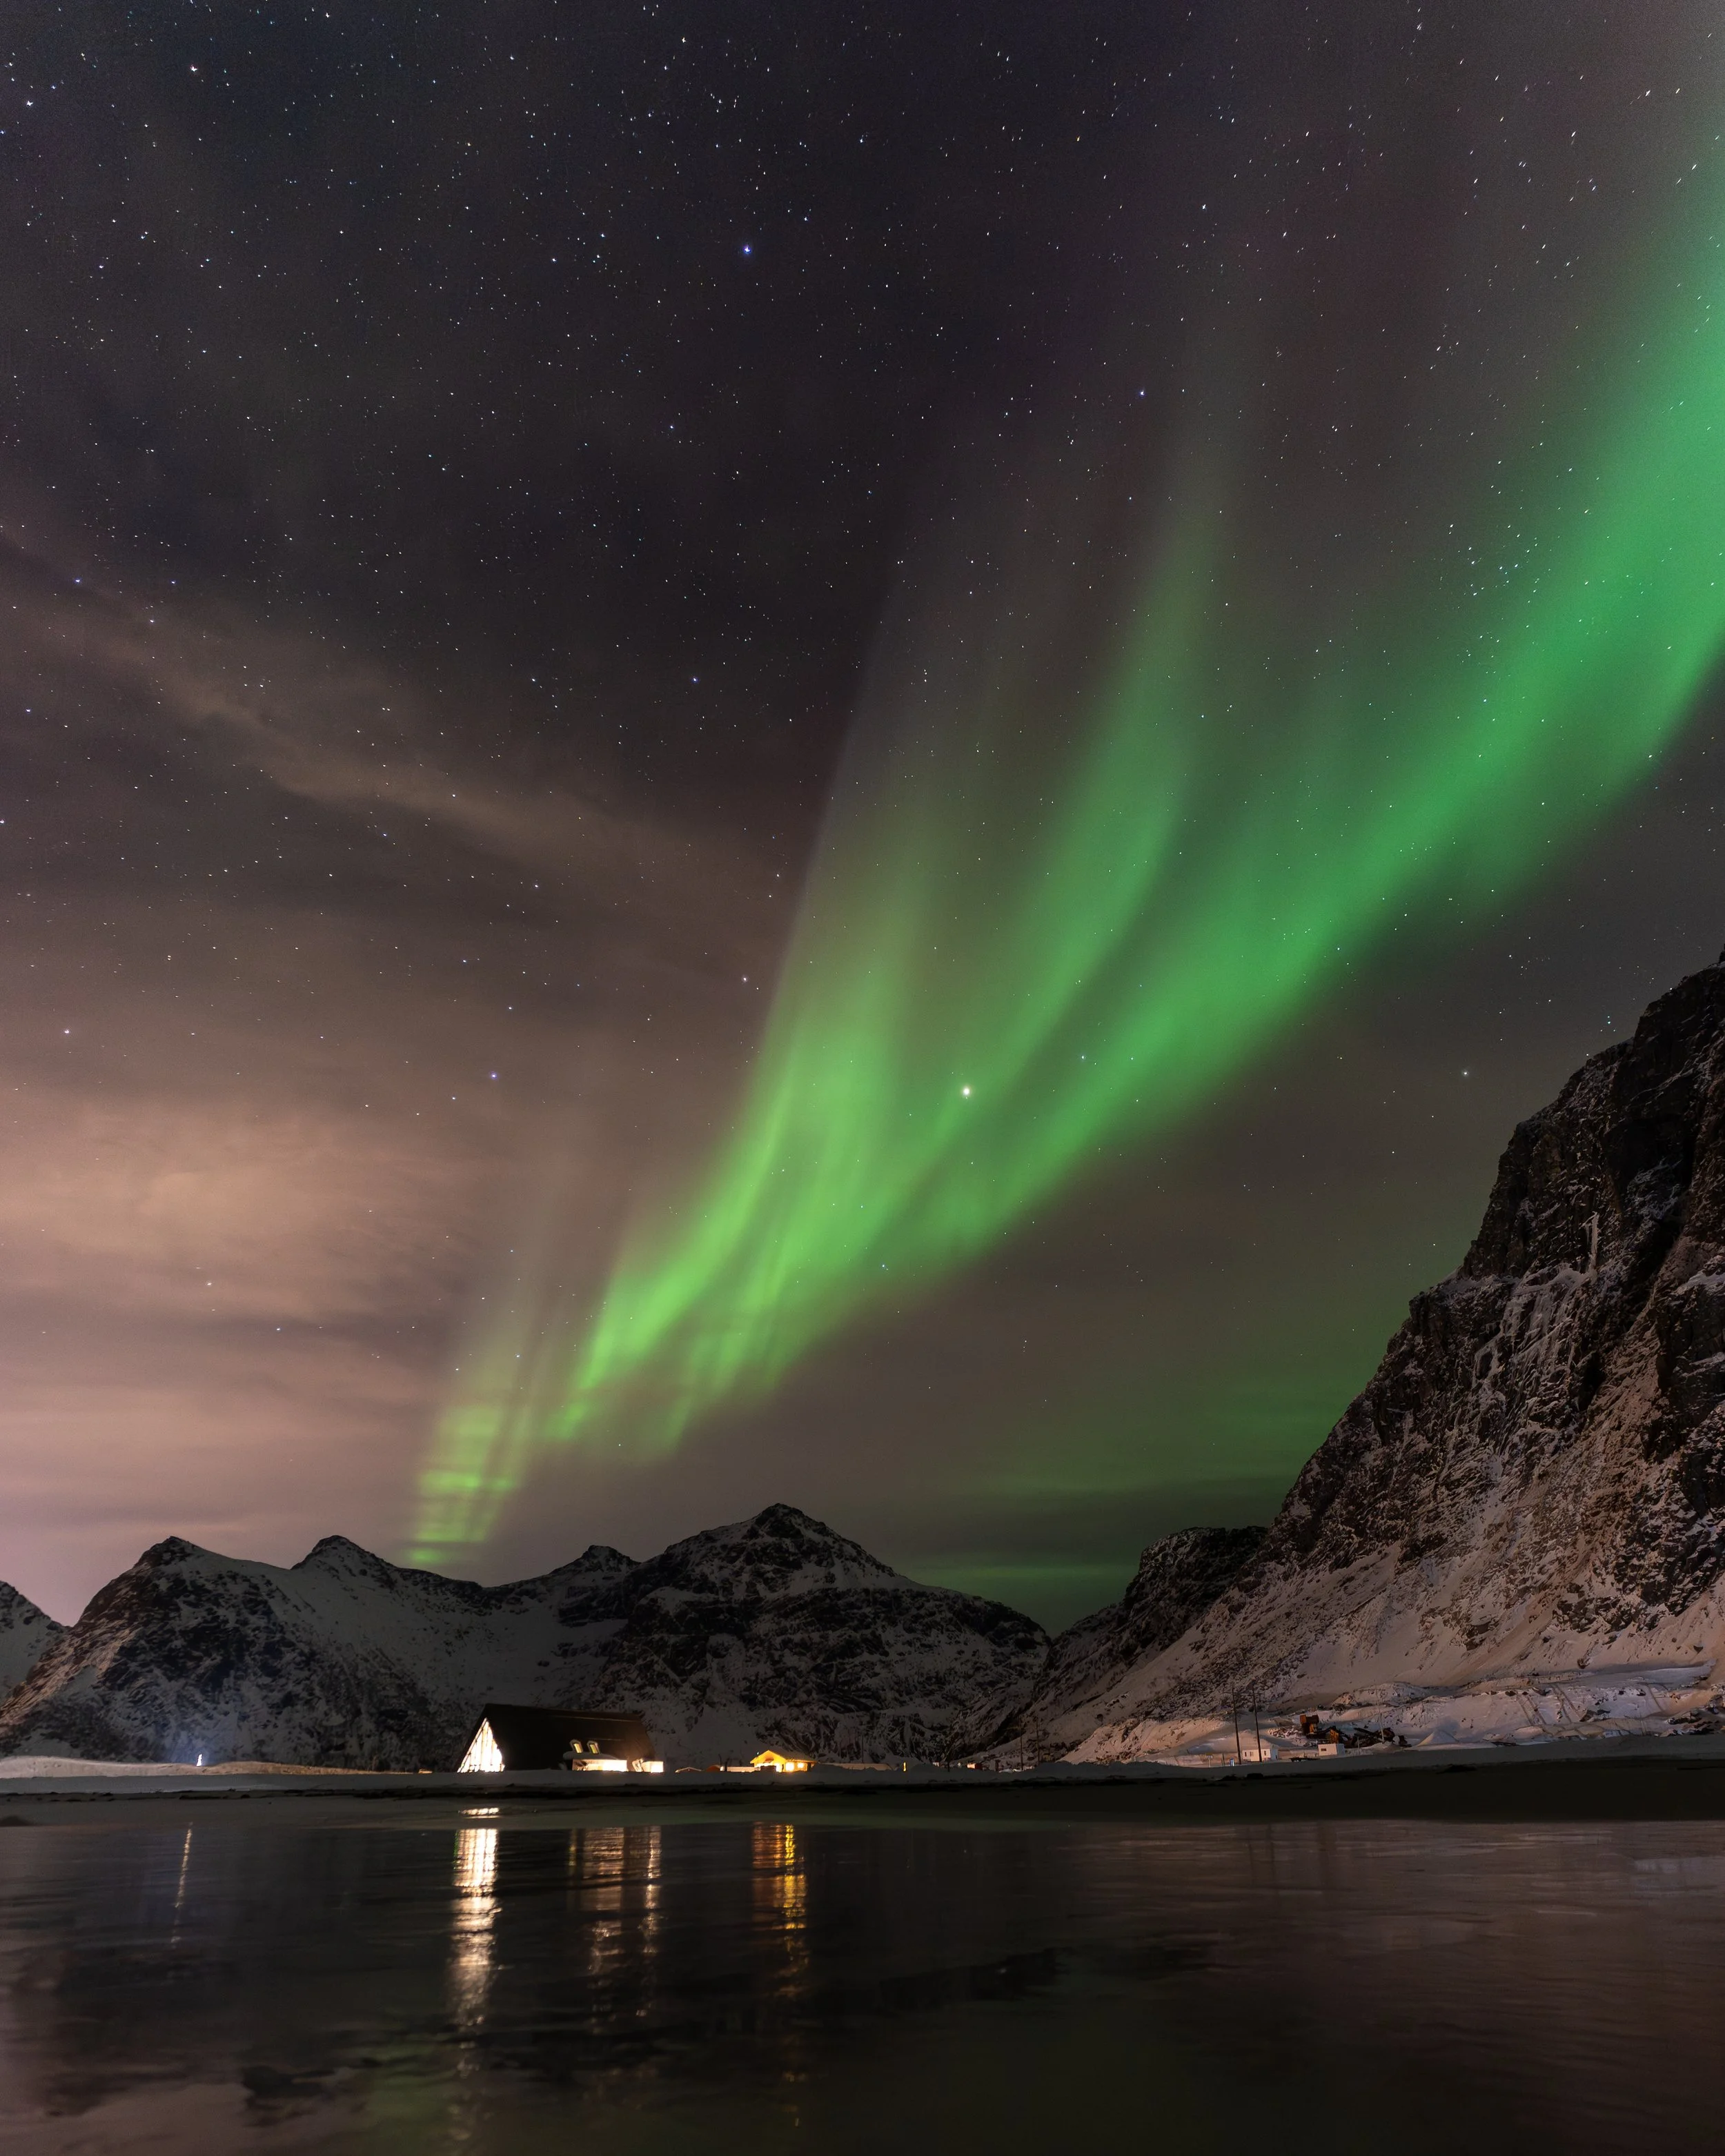
Uttakleiv at night — the aurora sweeping over the beach. A foreground adds scale.
5. Cold-Weather Battery Management
This is critical. Cold drains batteries fast. I always carry at least three fully charged batteries for a night of aurora shooting.
The trick: keep them warm. I keep spares in my inside jacket pocket — next to my body heat. A cold battery will drain rapidly, but a warm one will give you much more life.
I use Sony NPFZ100 batteries — they're reliable and hold up well in the cold.
6. Time-Lapse Settings (Briefly)
I caught a time-lapse of the aurora from Uttakleiv that night — and if you watched the video, you might have spotted the meteor that passed through the frame.
Here's what I used for that time-lapse:
- Interval: 5–8 seconds between shots.
- Exposure: Same as above — f/2.8, ISO 1600–3200, 5–15 seconds.
- Duration: Keep shooting until the aurora fades or your battery dies.
When I saw the meteor in the time-lapse, I let out a scream of "oh my God." I had to wait for the time-lapse to finish before I could see if it was caught in the frame. It was. And I was absolutely overjoyed.
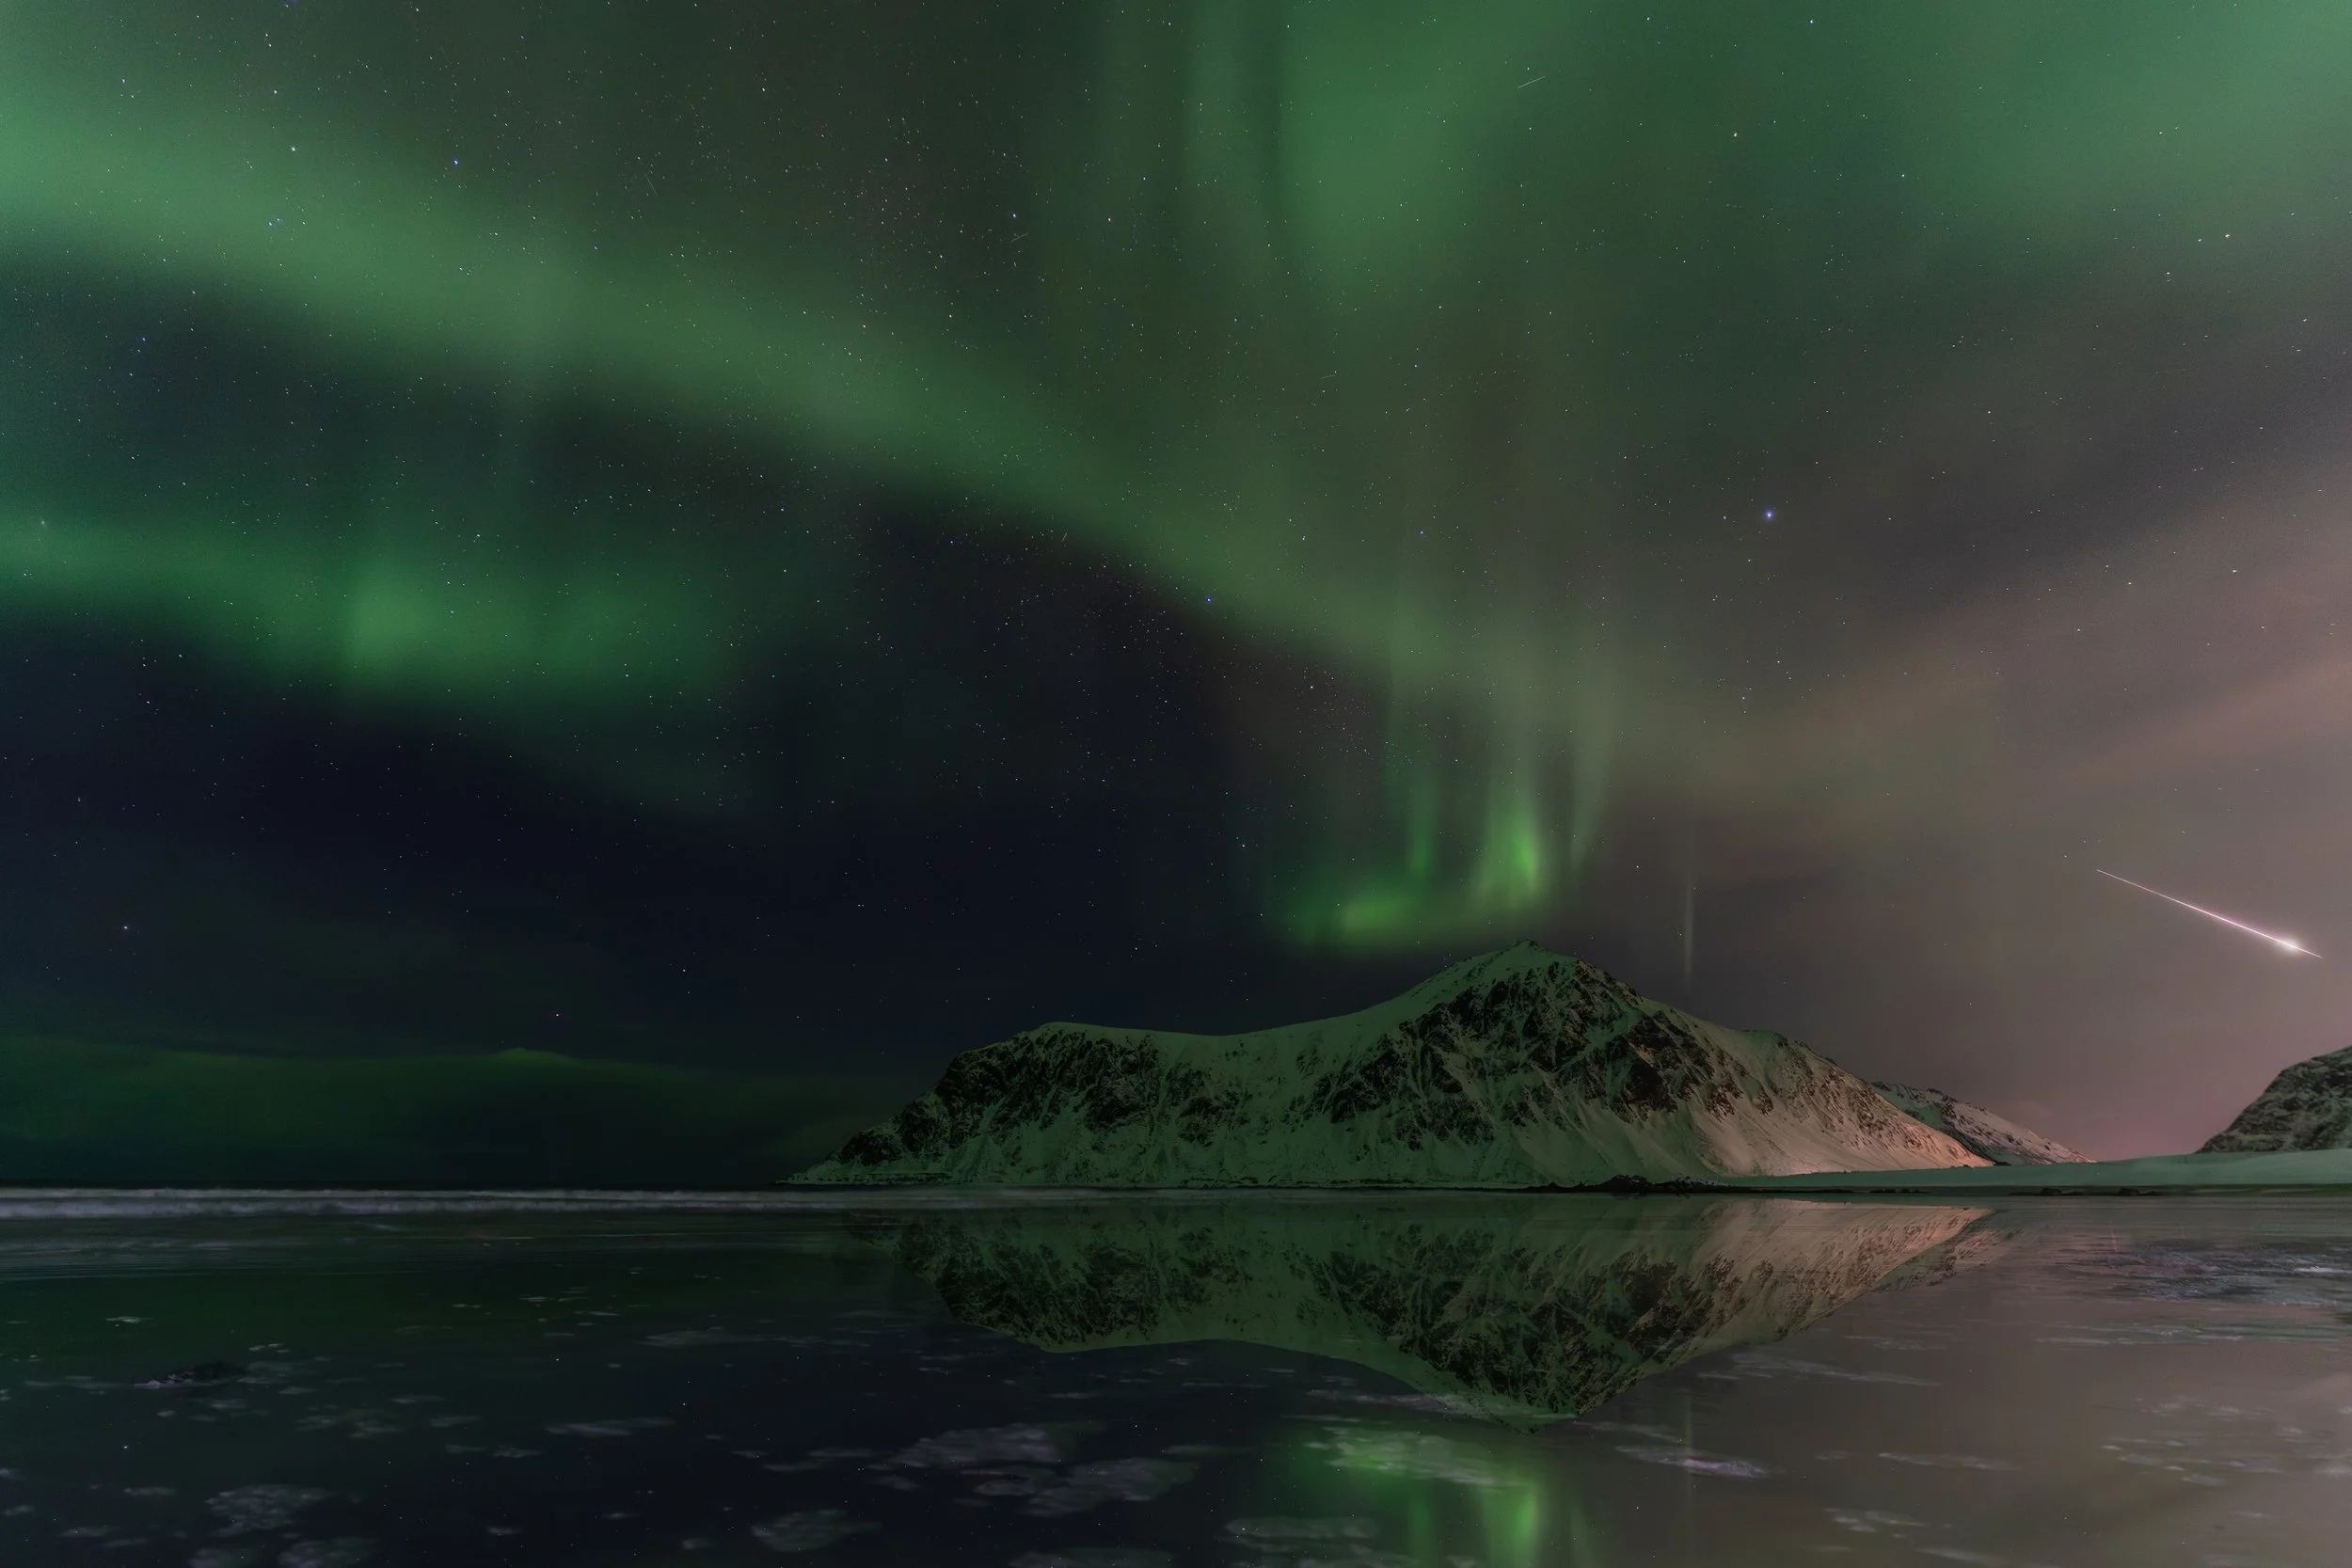
A meteor passing through the frame during a time-lapse — pure magic.
7. Gear Essentials for Aurora Photography
Here's what I consider essential for shooting the Northern Lights:
- Wide-angle lens — 16–35mm f/2.8 or wider. You need that fast aperture. The Sony 16–35mm f/4 works, but f/2.8 is better.
- Sturdy tripod — essential. You cannot shoot the aurora without one. 3 Legged Thing Winston 2.0 is what I use.
- Spare batteries — keep them warm. Sony NPFZ100.
- Head torch — you need your hands free. Black Diamond Storm 500-R.
- Warm gloves — don't forget them like I did. OTEX Outdoors gloves.
8. A Cautionary Tale — Back Up Your Files
At the end of the video, I shared a story that I'll repeat here:
I came home after this trip, exported everything, backed it all up — and then they all disappeared. The last day and a half of images were gone.
Thankfully, I was able to recover the video files. But the stills? Gone. I had a beautiful time-lapse of Nusfjord at sunrise — but the images I captured that day are gone forever.
So please, back up your files. Make sure they're safe. It's a boring tip, but it's one of the most important things you can do.
If you're looking for a solid backup solution, I use external drives and keep everything in at least two places.
Final Thoughts
Photographing the Northern Lights is one of the most rewarding experiences a landscape photographer can have. It's challenging — the cold, the darkness, the unpredictability — but when the lights dance and you capture a moment that feels like magic, it's all worth it.
My advice? Be patient. Be prepared. And don't forget your gloves.
"If any of you know how the Northern Lights work, they kind of peak and they trough a little bit. Sometimes if you arrive at a new location, it's always worth just sitting and waiting — just in case they decide to come back."
And when they do? Wow. It's absolutely incredible.
🌍 Join the Lofoten Photography Workshop
Experience the Arctic light, chase the Northern Lights, and photograph one of the world's most dramatic landscapes. Small groups, expert tuition, and the trip of a lifetime.
Join the Waiting List →