Namibia Safari Equipment Guide
Essential Wildlife Photography Gear for Etosha
What to Pack for a Photography Safari in Namibia's Premier Wildlife Park
After a few visits to Etosha National Park — one with my own gear and one with borrowed Canon kit — I've learned exactly what works and what doesn't. From the essential telephoto zoom to the unexpected importance of a blower and sensor brush, here's my honest guide to packing for Namibia's premier wildlife photography destination.
Hello there folks and how is it going? Welcome back to another blog post. Now, if you've been following along with my recent Namibia adventures, you'll know I've spent some serious time in Etosha National Park. And I've made a lot of mistakes along the way.
From my first visit with my own busted gear to my second visit with Brendan's borrowed Canon setup, I've learned a thing or two about what you actually need — and what you absolutely don't — when photographing wildlife in Namibia's premier park.
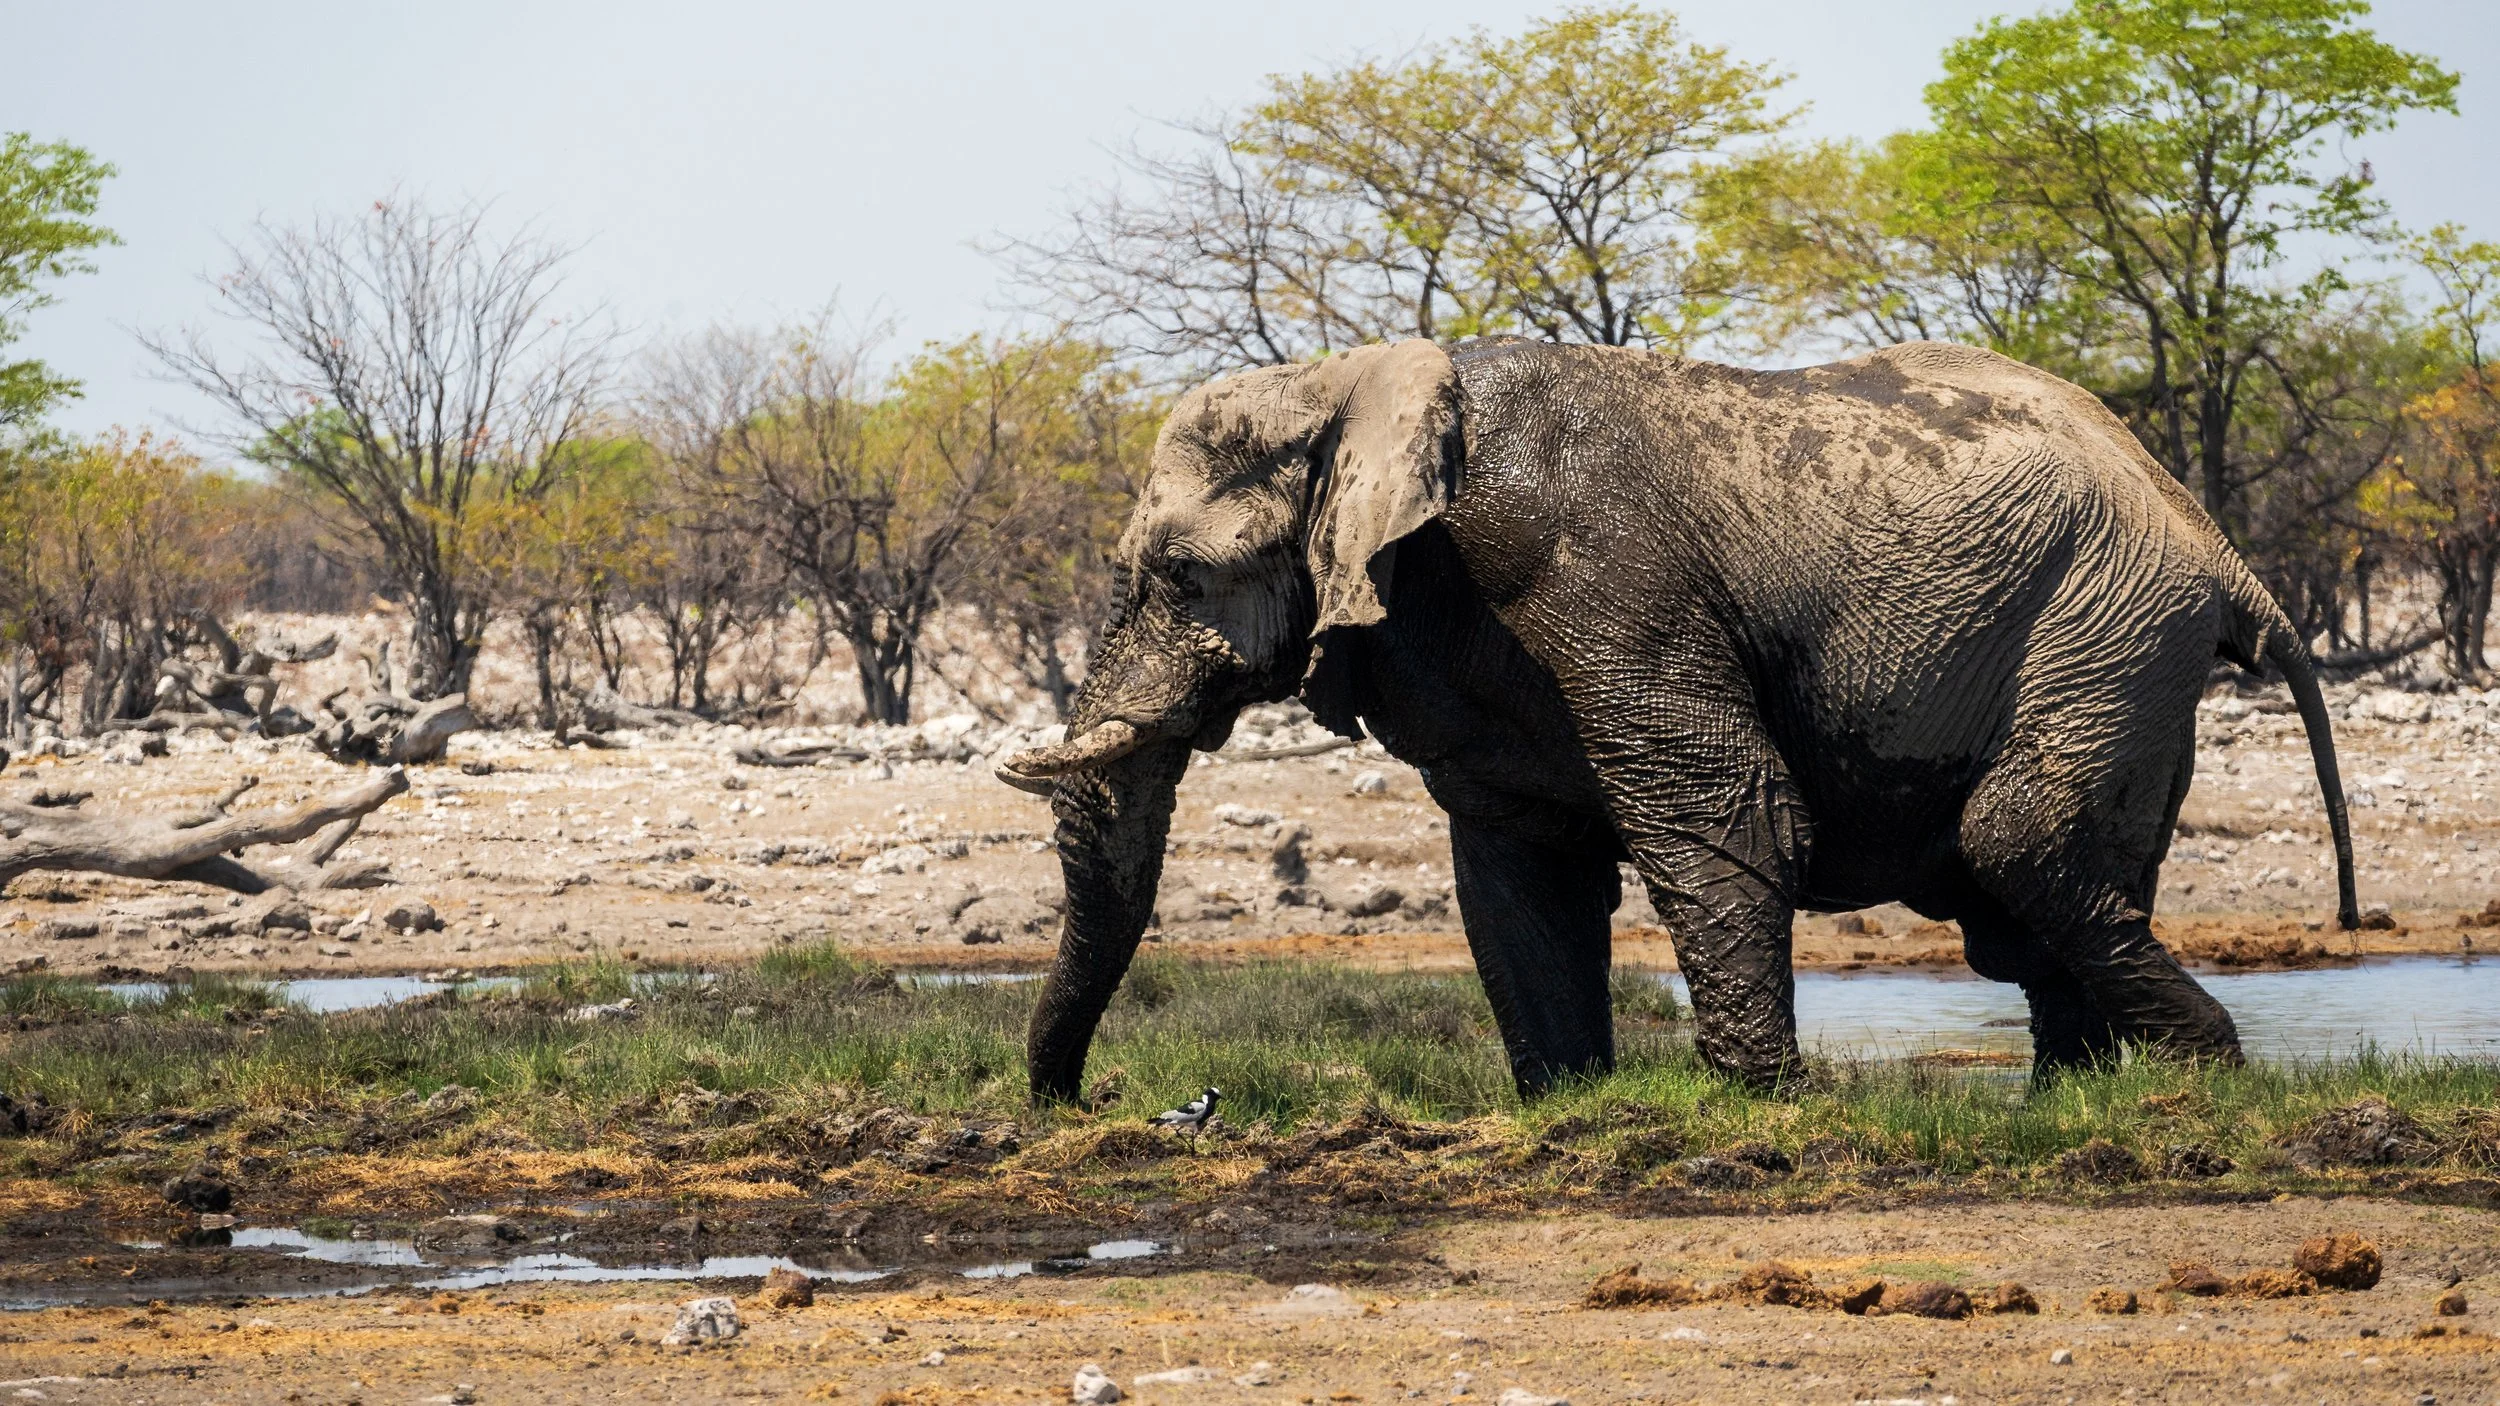
Elephant at a waterhole — this is what you came for.
1. The Lenses: What You'll Actually Use
Let's start with the most important question: what lens do you need for wildlife photography in Etosha?
After two visits, here's my honest answer:
The Workhorse: 100-400mm (or similar)
This is the lens you'll reach for 80% of the time. Whether you're shooting Canon, Nikon, Sony, or Fuji, you need something that gets you to at least 400mm. Etosha's animals are often at a distance — not crazy far, but far enough that 200mm just won't cut it.
On my second visit, I used Brendan's Canon 100-400mm (with an adapter because it was an older version). It was chunky, it was a bit beat up, and it was absolutely essential. The ability to isolate animals against the golden grass or capture the dust kicked up by an elephant — that reach makes all the difference.
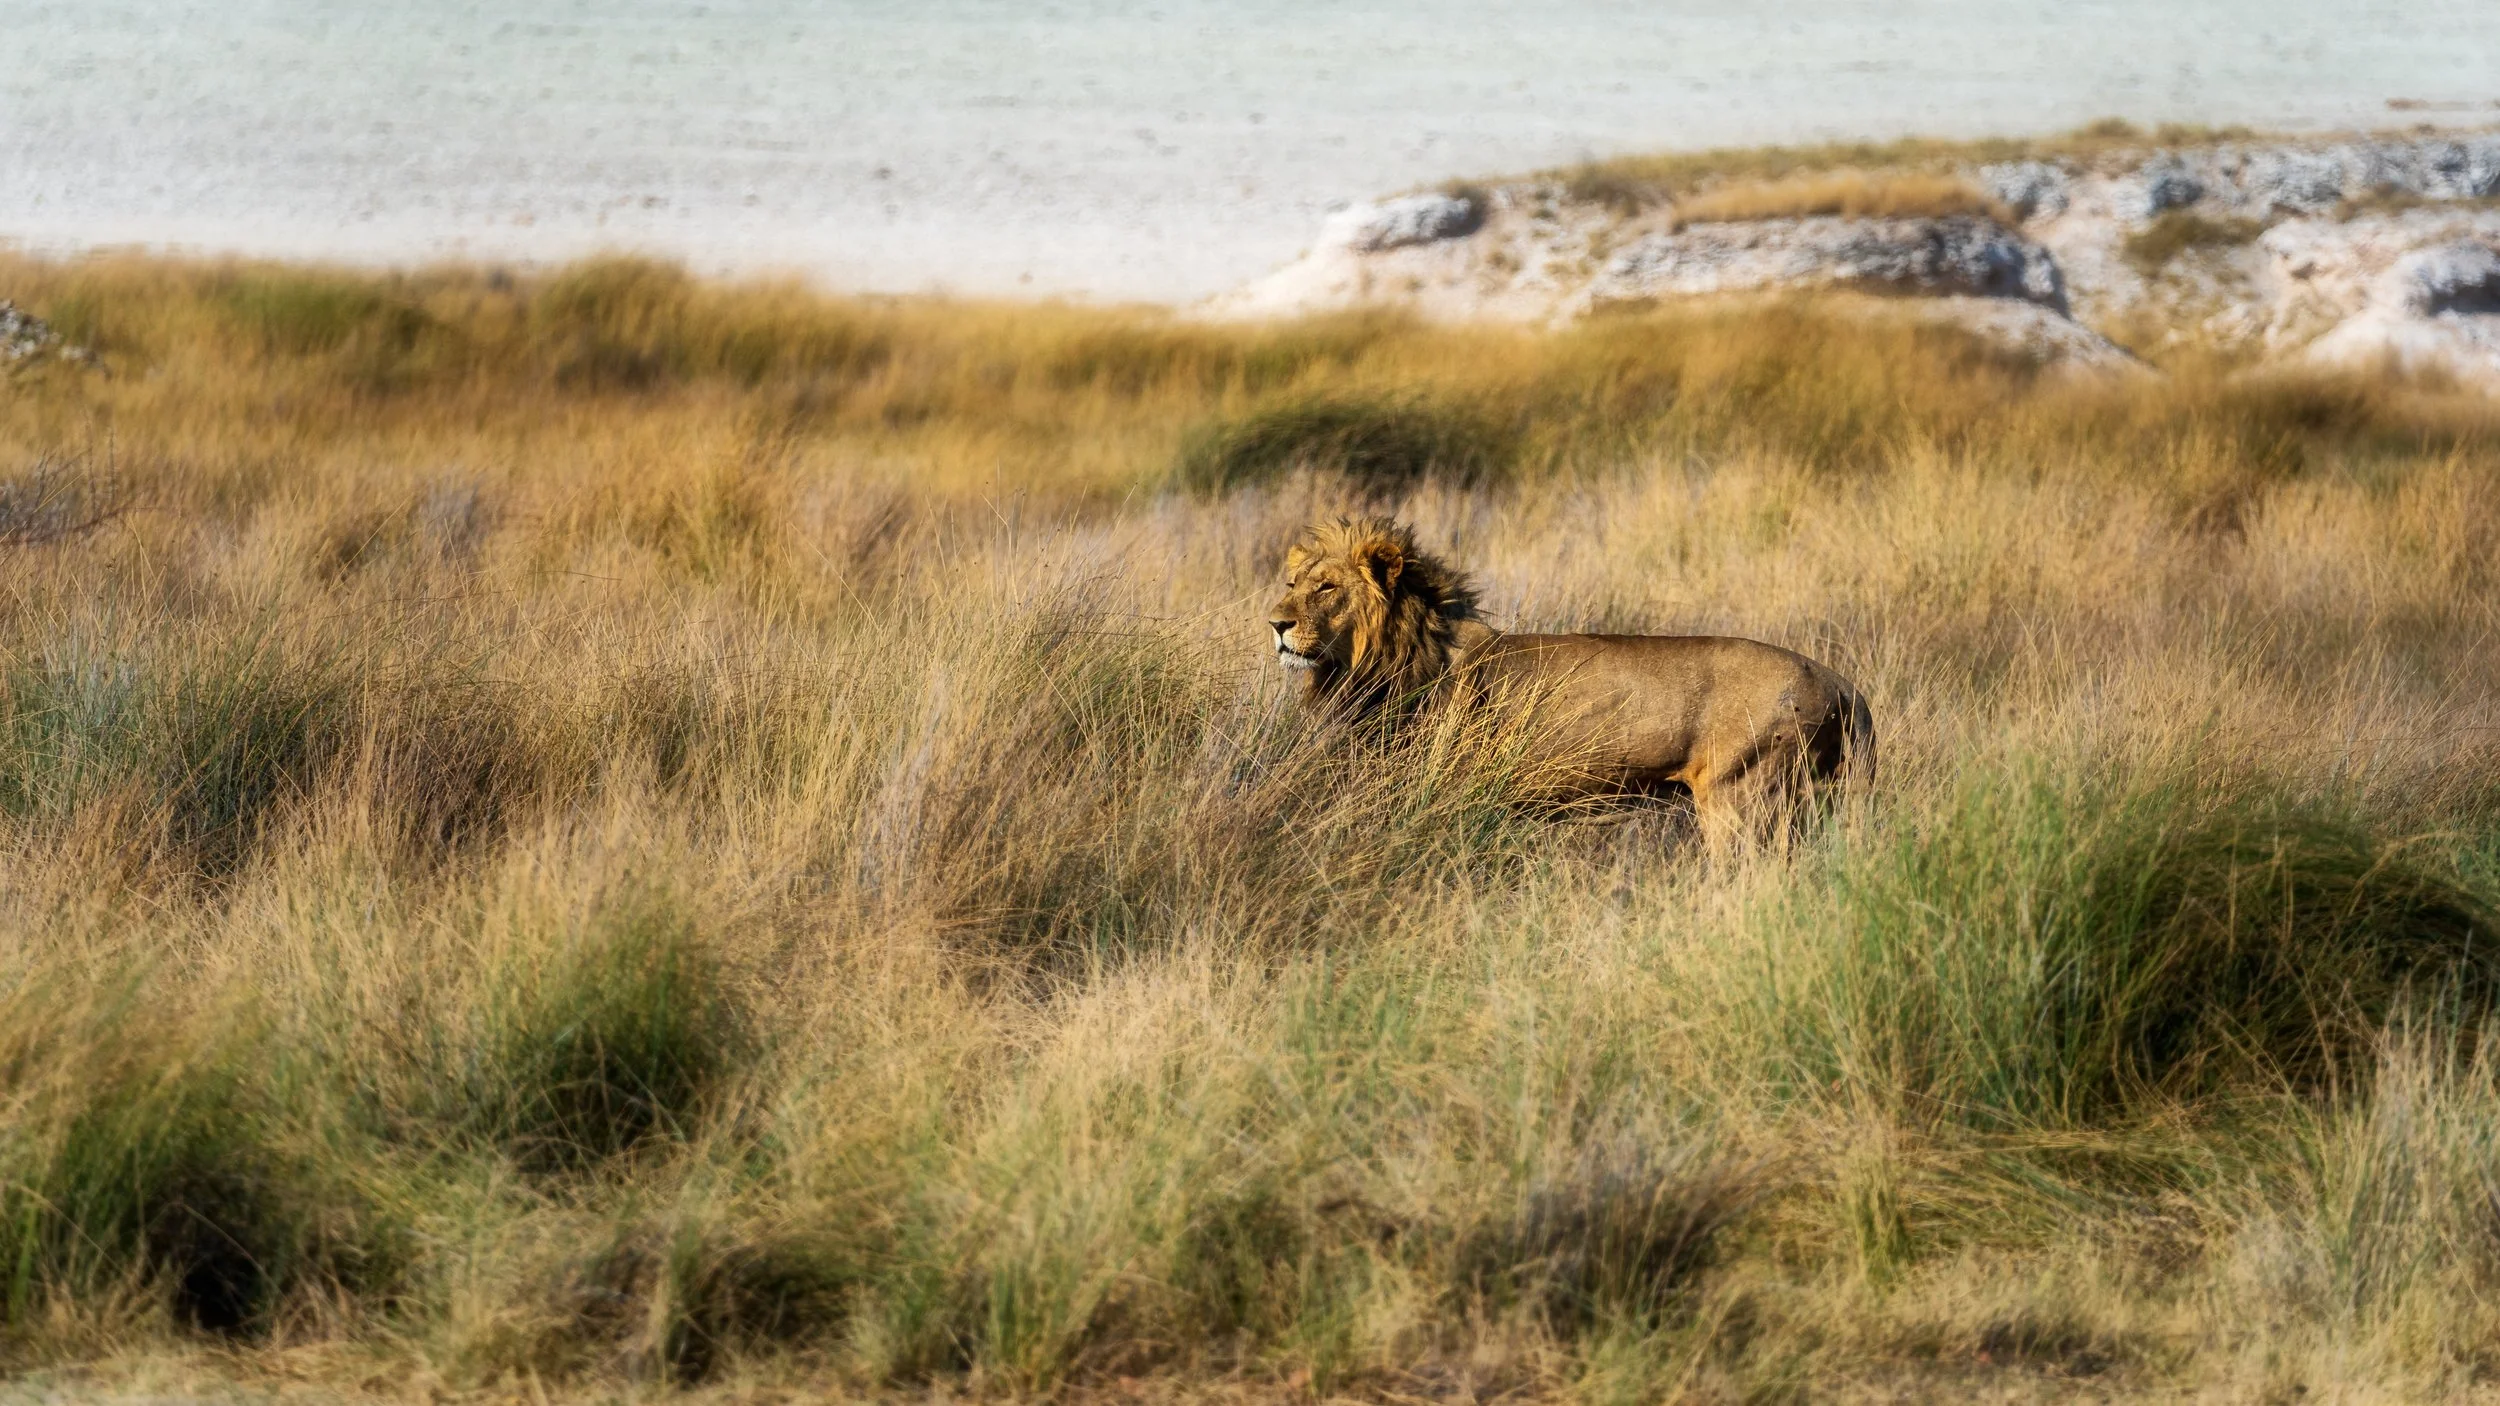
A lion at 400mm — you need the reach to isolate them against the grass.
The Wide-Angle: 16-35mm or 24-70mm
You might not think you need a wide lens on a wildlife trip, but trust me — you do. Etosha is not just about animals; it's about the landscape. The white salt pan, the acacia trees silhouetted against a sunset, the vastness of it all.
On my second visit, I had Brendan's 14-35mm, and I used it just as much as the telephoto. The landscape shots are what make the wildlife photos sing. Wide-angle at the waterholes also gives you context — the animals in their environment, not just isolated portraits.

The vastness of Etosha — wide-angle captures the scale.
The Night Lens: 16mm f/2.8 or f/1.8
Etosha has floodlit waterholes, and the night photography is a whole different world. Rhinos, elephants, and lions at night — it's a completely different experience from shooting during the day.
I borrowed Brendan's Samyang 16mm f/2.8 pancake lens, and it was perfect. Light enough to put on a tracker, wide enough to capture the scene, and fast enough for low light. If you're planning to shoot at the waterholes after dark, bring something fast and wide.
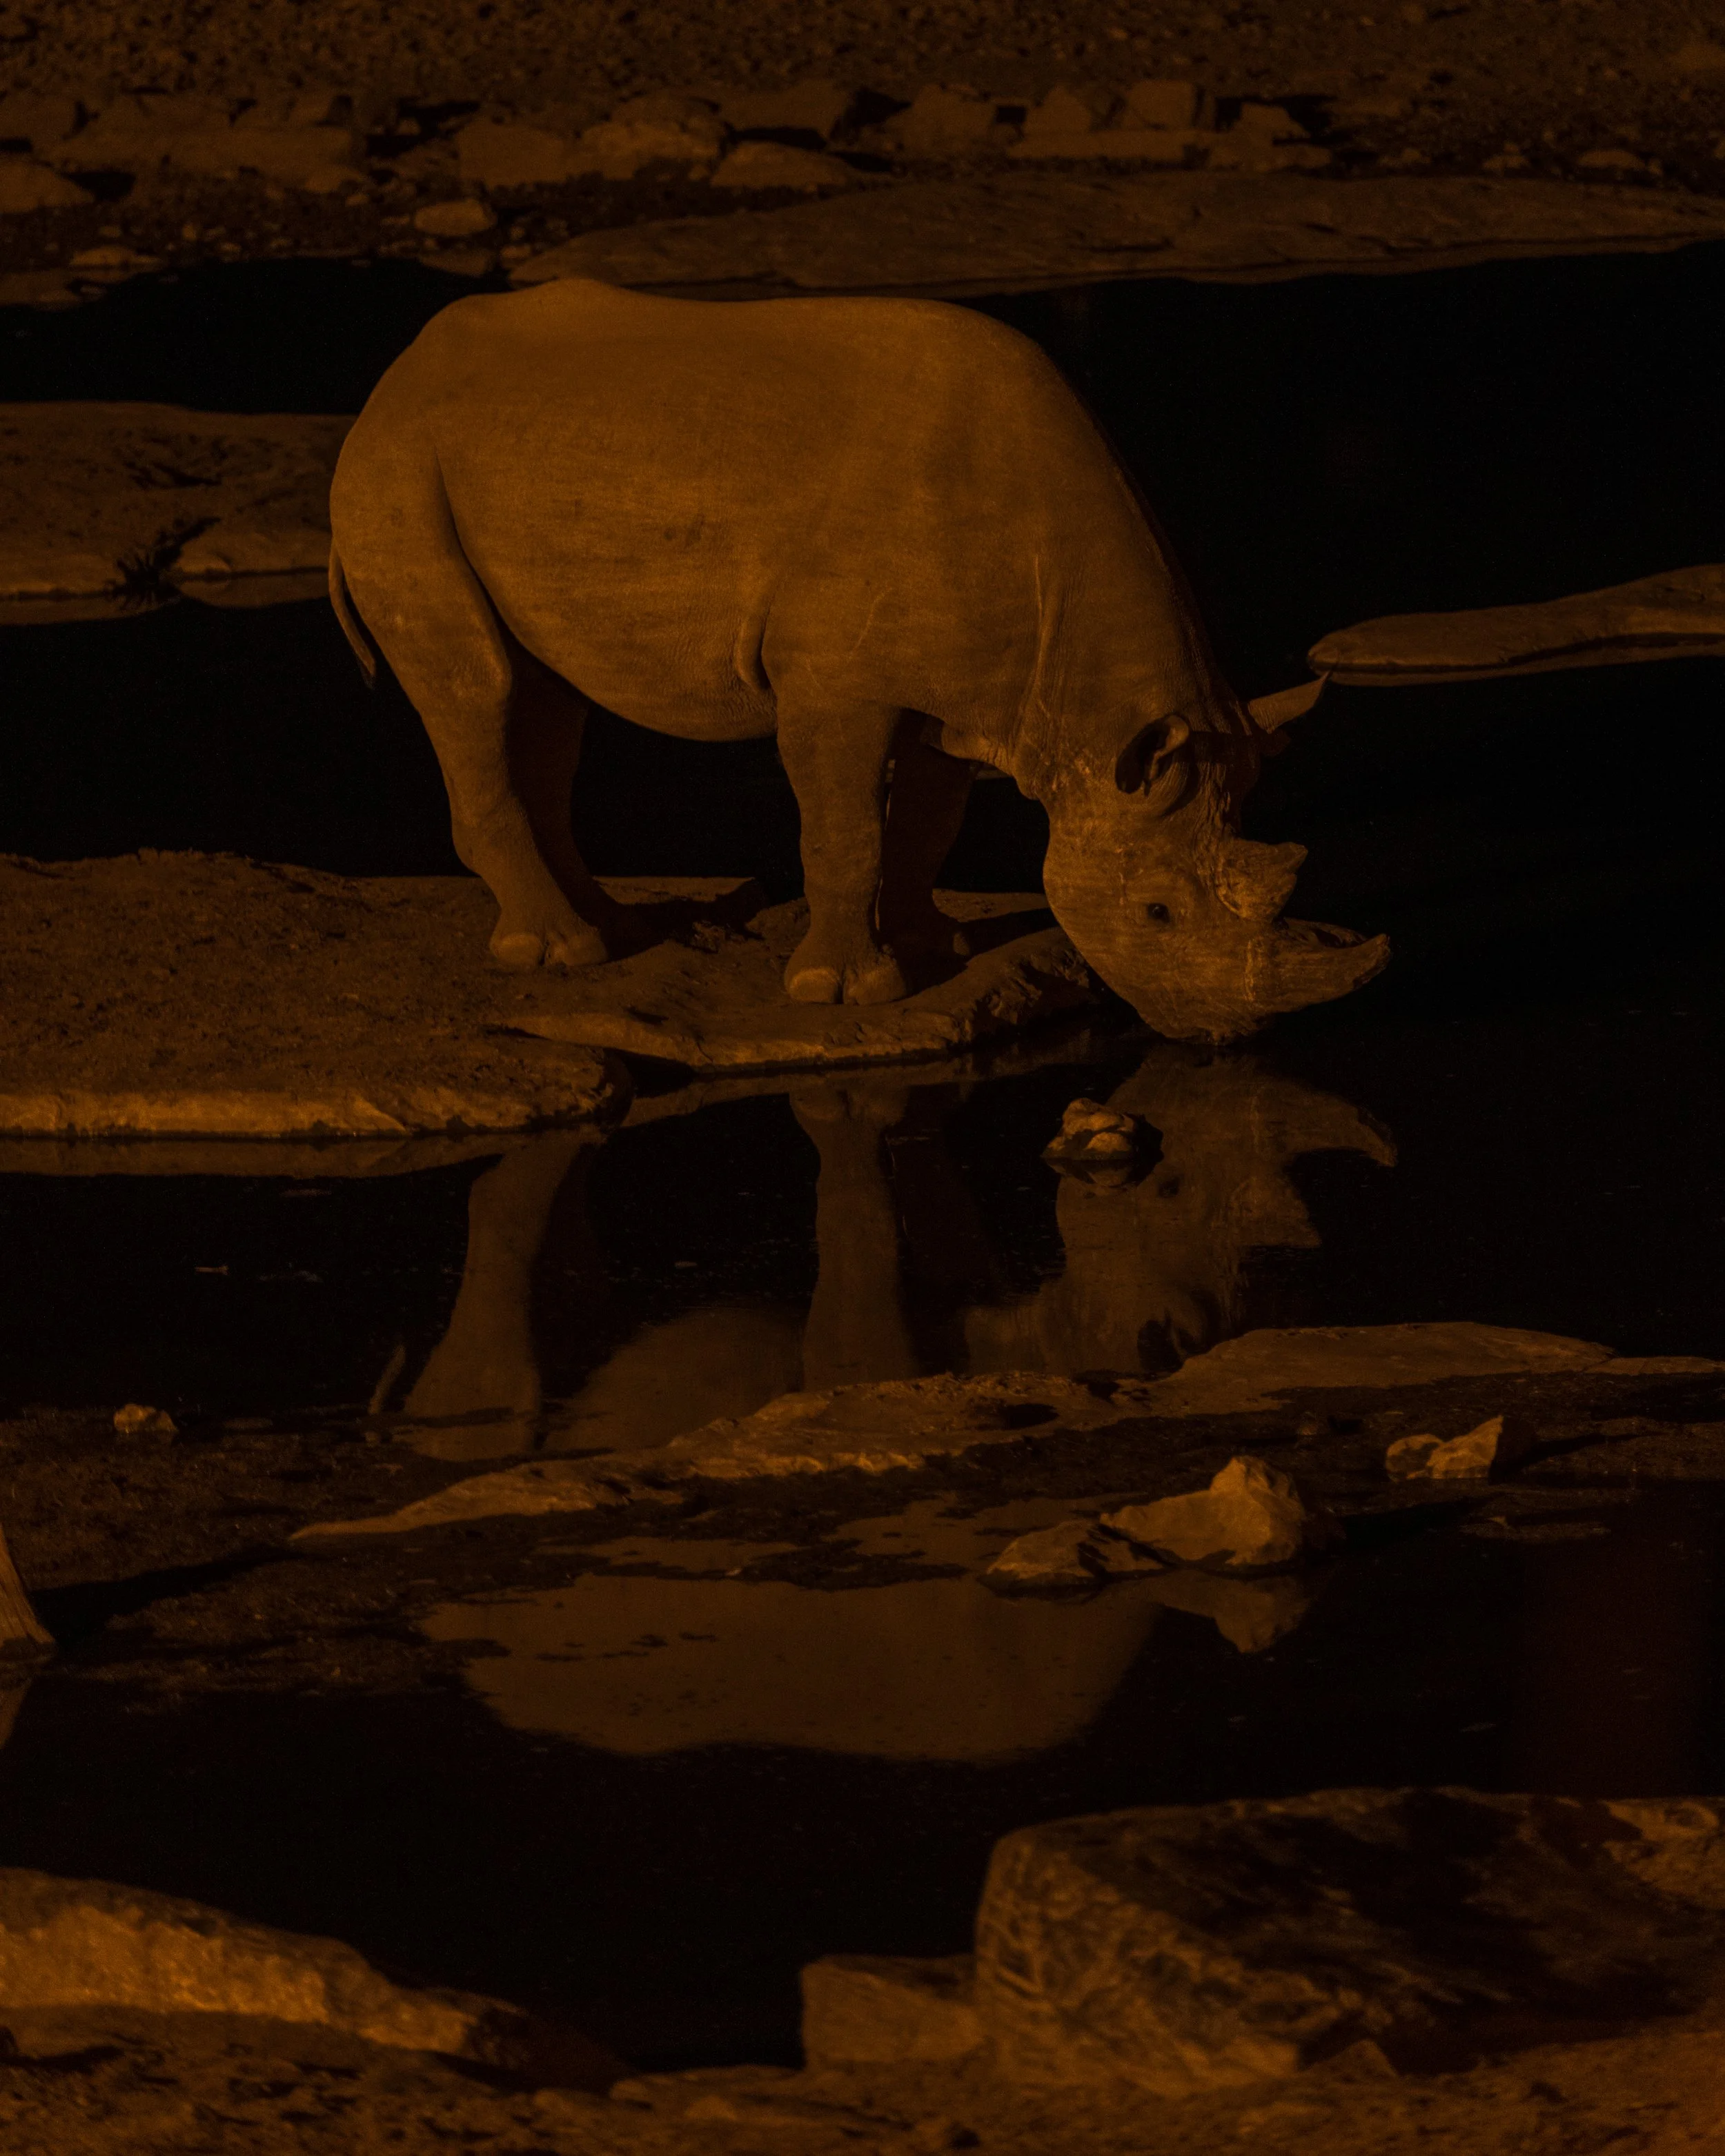
Night photography at the waterhole — fast and wide is essential.
2. Camera Bodies: One or Two?
Here's the thing about wildlife photography in Etosha: things happen fast. A cheetah appears on one side of the road while an elephant is drinking on the other. If you're fumbling to change lenses, you'll miss it.
The ideal setup is two camera bodies — one with your telephoto, one with your wide-angle. I know it's expensive, and I know it's a lot to carry, but it's the difference between getting the shot and watching it happen.
On my second visit, I only had Brendan's one body — the Canon R6 — so I had to pick my battles. The articulating screen was a game-changer, though. I could get low to the ground without lying in the dust, which was a real bonus.
If you're shooting with a crop sensor, you get extra reach — but you lose some low-light performance. Full-frame is better in low light, but crop gives you more bang for your buck at the long end. There's no perfect answer — it's a trade-off.
3. The Dust Problem: Protect Your Gear
Here's something they don't tell you about Etosha: it's dusty. Like, really dusty. The roads are unpaved, the wind picks up, and before you know it, your camera sounds like it's grinding. I cannot stress this enough — you need dust protection.
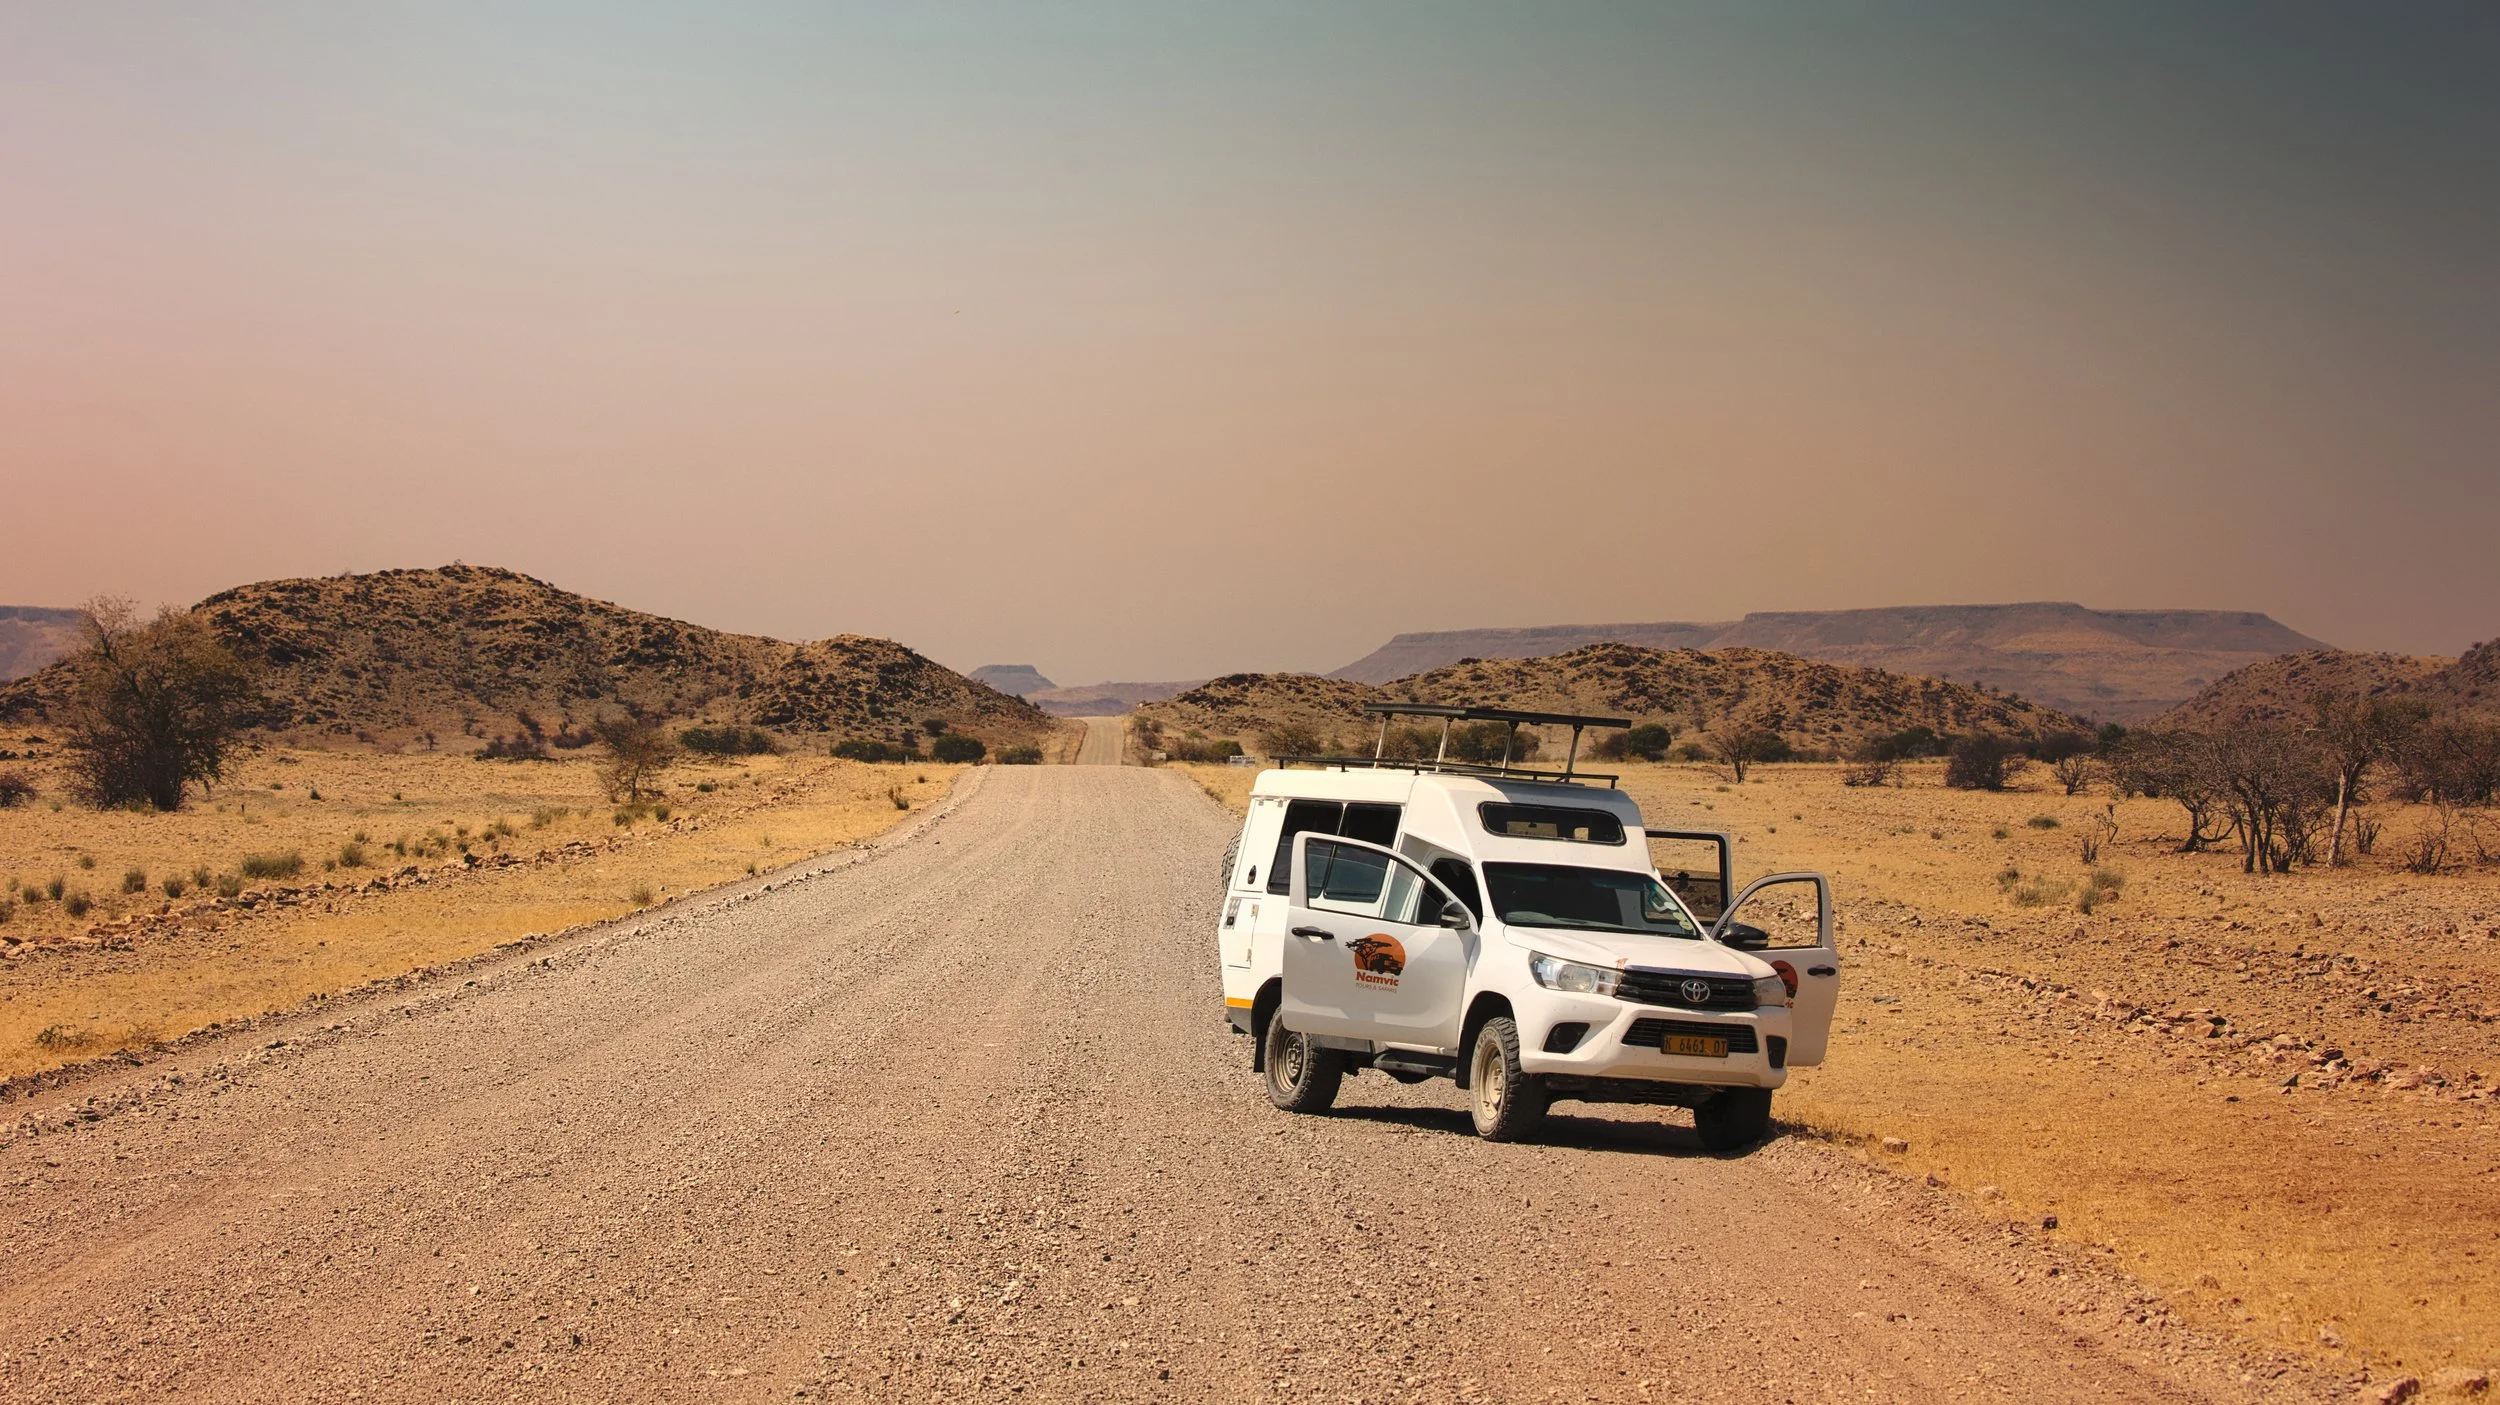
The roads are dusty — protect your gear at all costs.
What I recommend:
- A blower and sensor brush — you'll use this every single day. Probably multiple times.
- A weather-sealed camera and lens — if your gear isn't sealed, you're going to have a bad time.
- A filter — a clear or UV filter on your lens gives you an extra layer of protection. You can clean it without worrying about the lens element.
- A camera bag that seals well — your gear needs a home that keeps the dust out when you're driving between locations.
On my first visit, I didn't take dust seriously enough. By day three, my gear was squeaking and I was panicking. On my second visit, I was prepared. Don't be me on visit one — be me on visit two.
4. Tripods and Monopods: Do You Need Them?
Monopod: Yes. A monopod is your friend in Etosha. It's not as steady as a tripod, but it takes the weight off your arms during long waits at the waterholes. I used one on my second visit, and it made a real difference — my arms didn't feel like falling off after an hour of holding the 100-400mm.
Tripod: Only for night photography. During the day, you're shooting at high shutter speeds, so a tripod is just extra weight. But at night, at the floodlit waterholes, you'll want a sturdy tripod for long exposures.
5. Accessories: The Little Things That Make a Big Difference
Here are the small items that ended up being surprisingly important:
- Extra batteries — you'll shoot a lot, and the dust drains them faster. Bring at least three.
- Memory cards — bring twice as many as you think you'll need. Wildlife photography is spray and pray — you'll fill cards fast.
- A cleaning kit — blower, sensor brush, lens cloth. You'll use them all.
- A polarizing filter — it helps cut glare on water and saturates the colours in the sky.
- A bean bag or window mount — you'll be shooting from a vehicle 90% of the time. A bean bag is a game-changer for stability.
- Sun cream and a hat — not gear, but you'll be glad you brought them. The Namibian sun is no joke.
You'll shoot from the vehicle 90% of the time — a bean bag helps.
6. What I Learned About Brendan's Gear
Since I borrowed Brendan's Canon kit on my second visit, I figured I'd share some honest thoughts:
- Canon R6: The autofocus was good — not perfect, but good. The articulating screen was a huge bonus. It handled the dust well, and the battery life was decent.
- 100-400mm (older version with adapter): Chunky. Not the sharpest lens, but it did the job. The adapter introduced a bit of wobble, which was annoying but not a dealbreaker.
- 14-35mm: Beautiful lens. Sharp, light, and the colours were lovely. This one was a pleasure to use.
- 16mm f/2.8: Perfect for astro and night shots. Light and fast. If you're doing night photography, this is the lens.
Would I recommend this setup? Yes — with the caveat that the 100-400mm needs to be a modern, sealed version. The adapter made me nervous in the dust.
7. Final Gear Checklist
Here's a quick checklist of everything I'd recommend packing:
- Camera body (weather-sealed) — ideally two
- 100-400mm lens (or similar reach, weather-sealed)
- 24-70mm or 16-35mm lens (for landscapes and context shots)
- Fast wide lens (16mm f/2.8 or similar for night photography)
- Extra batteries — at least three
- Memory cards — twice what you think you need
- Cleaning kit — blower, sensor brush, lens cloth
- Polarizing filter
- Monopod — for long waits at waterholes
- Tripod — only for night photography
- Bean bag or window mount — essential for vehicle shooting
- Dust-proof camera bag
- Sun cream, hat, water — the basics
And if you forget anything? Don't worry too much. Etosha has shops at the camps that sell basic supplies, and you can buy some things there. But your camera gear? Bring everything you need.
Have you photographed wildlife in Etosha?
I'd love to hear about your gear setup and what worked for you. Drop a comment below — I reply to every message personally.
Ready to Photograph Etosha?
Namibia is a wildlife photographer's dream. If you'd like to experience Etosha National Park with a small group of like-minded photographers, I'd love to have you along. Small groups, real locations, and a focus on the art of seeing.
Explore Namibia Workshops →